
Let’s Blend: Gradient Tool
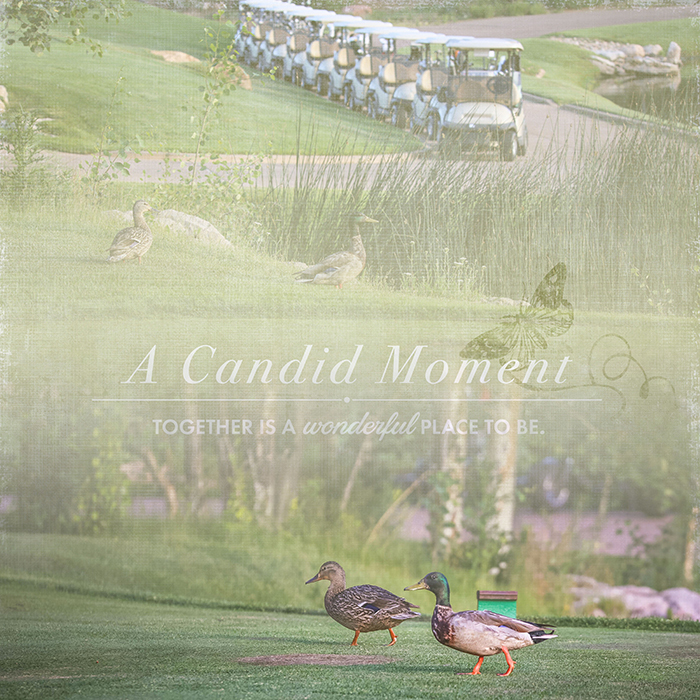
The Gradient Tool – I use it more and more every day. I thought this month, we would blend two or more photos together using this method. We have quite a few ducks that reside in the lake at our golf course in Flagstaff. One morning, this couple was on the tee box, as if they were getting ready to play :-). Here is how I blended two photos to kind of tell a story:
After placing your photos on the page, add a layer mask to the overlapping photo. Select the Linear Gradient Tool, click and drag from top to bottom and release close to the sharp edge of the photo. The the more you drag, the greater the gradient. (Hold down the shift key to create a straight gradient.) Now do the same thing to the bottom photo, except drag from bottom to top. Both photos should now be blended together. If you have some areas that you do not want, just take a brush on the layer mask and mask them out.
Placing word art, brushes or elements where the two photos meet also gives it a seamless look, while adding a focal point to the page.
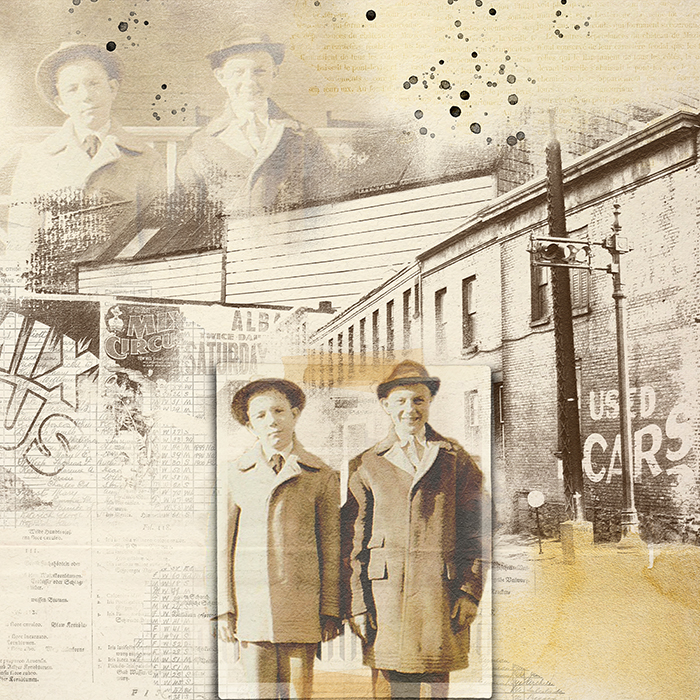
I also use the Radial Gradient Tool when I want blend a few photos on to a page. Dragging a diagonal line on the focal point of the photo and then blending what you want to add, gives you an easy starting point for blending. I used this method on the page below and added in some of the layers from one of Katie’s Urban Blendable Layers. Blending modes, filters from the filters gallery and Topaz Studio were added to give the page a more heritage look.
Many times, I step away from my work, and come back to it in a few hours or even the next day, to get a different perspective. I may or may not make changes at that time. You can use all or some of the products Katie has generously provided in the freebie pack. Remember to post your pages in the Mask Appeal Challenge Gallery and link up your page in the July Challenge Participation Thread for proper credit.

Follow Us