
Get Inspired: Merging Statements

Throughout 2020, Katie released several cutting file packs called Merging Statements. In February this year we scored a new pack in time for Valentine pages! These cutting files are so versatile. They can be, and have been, used in a variety of ways and I hope I can inspire you today to have a play with one or more of the sets.
A search for Merging Statements in the store will pull up all 6 packs: 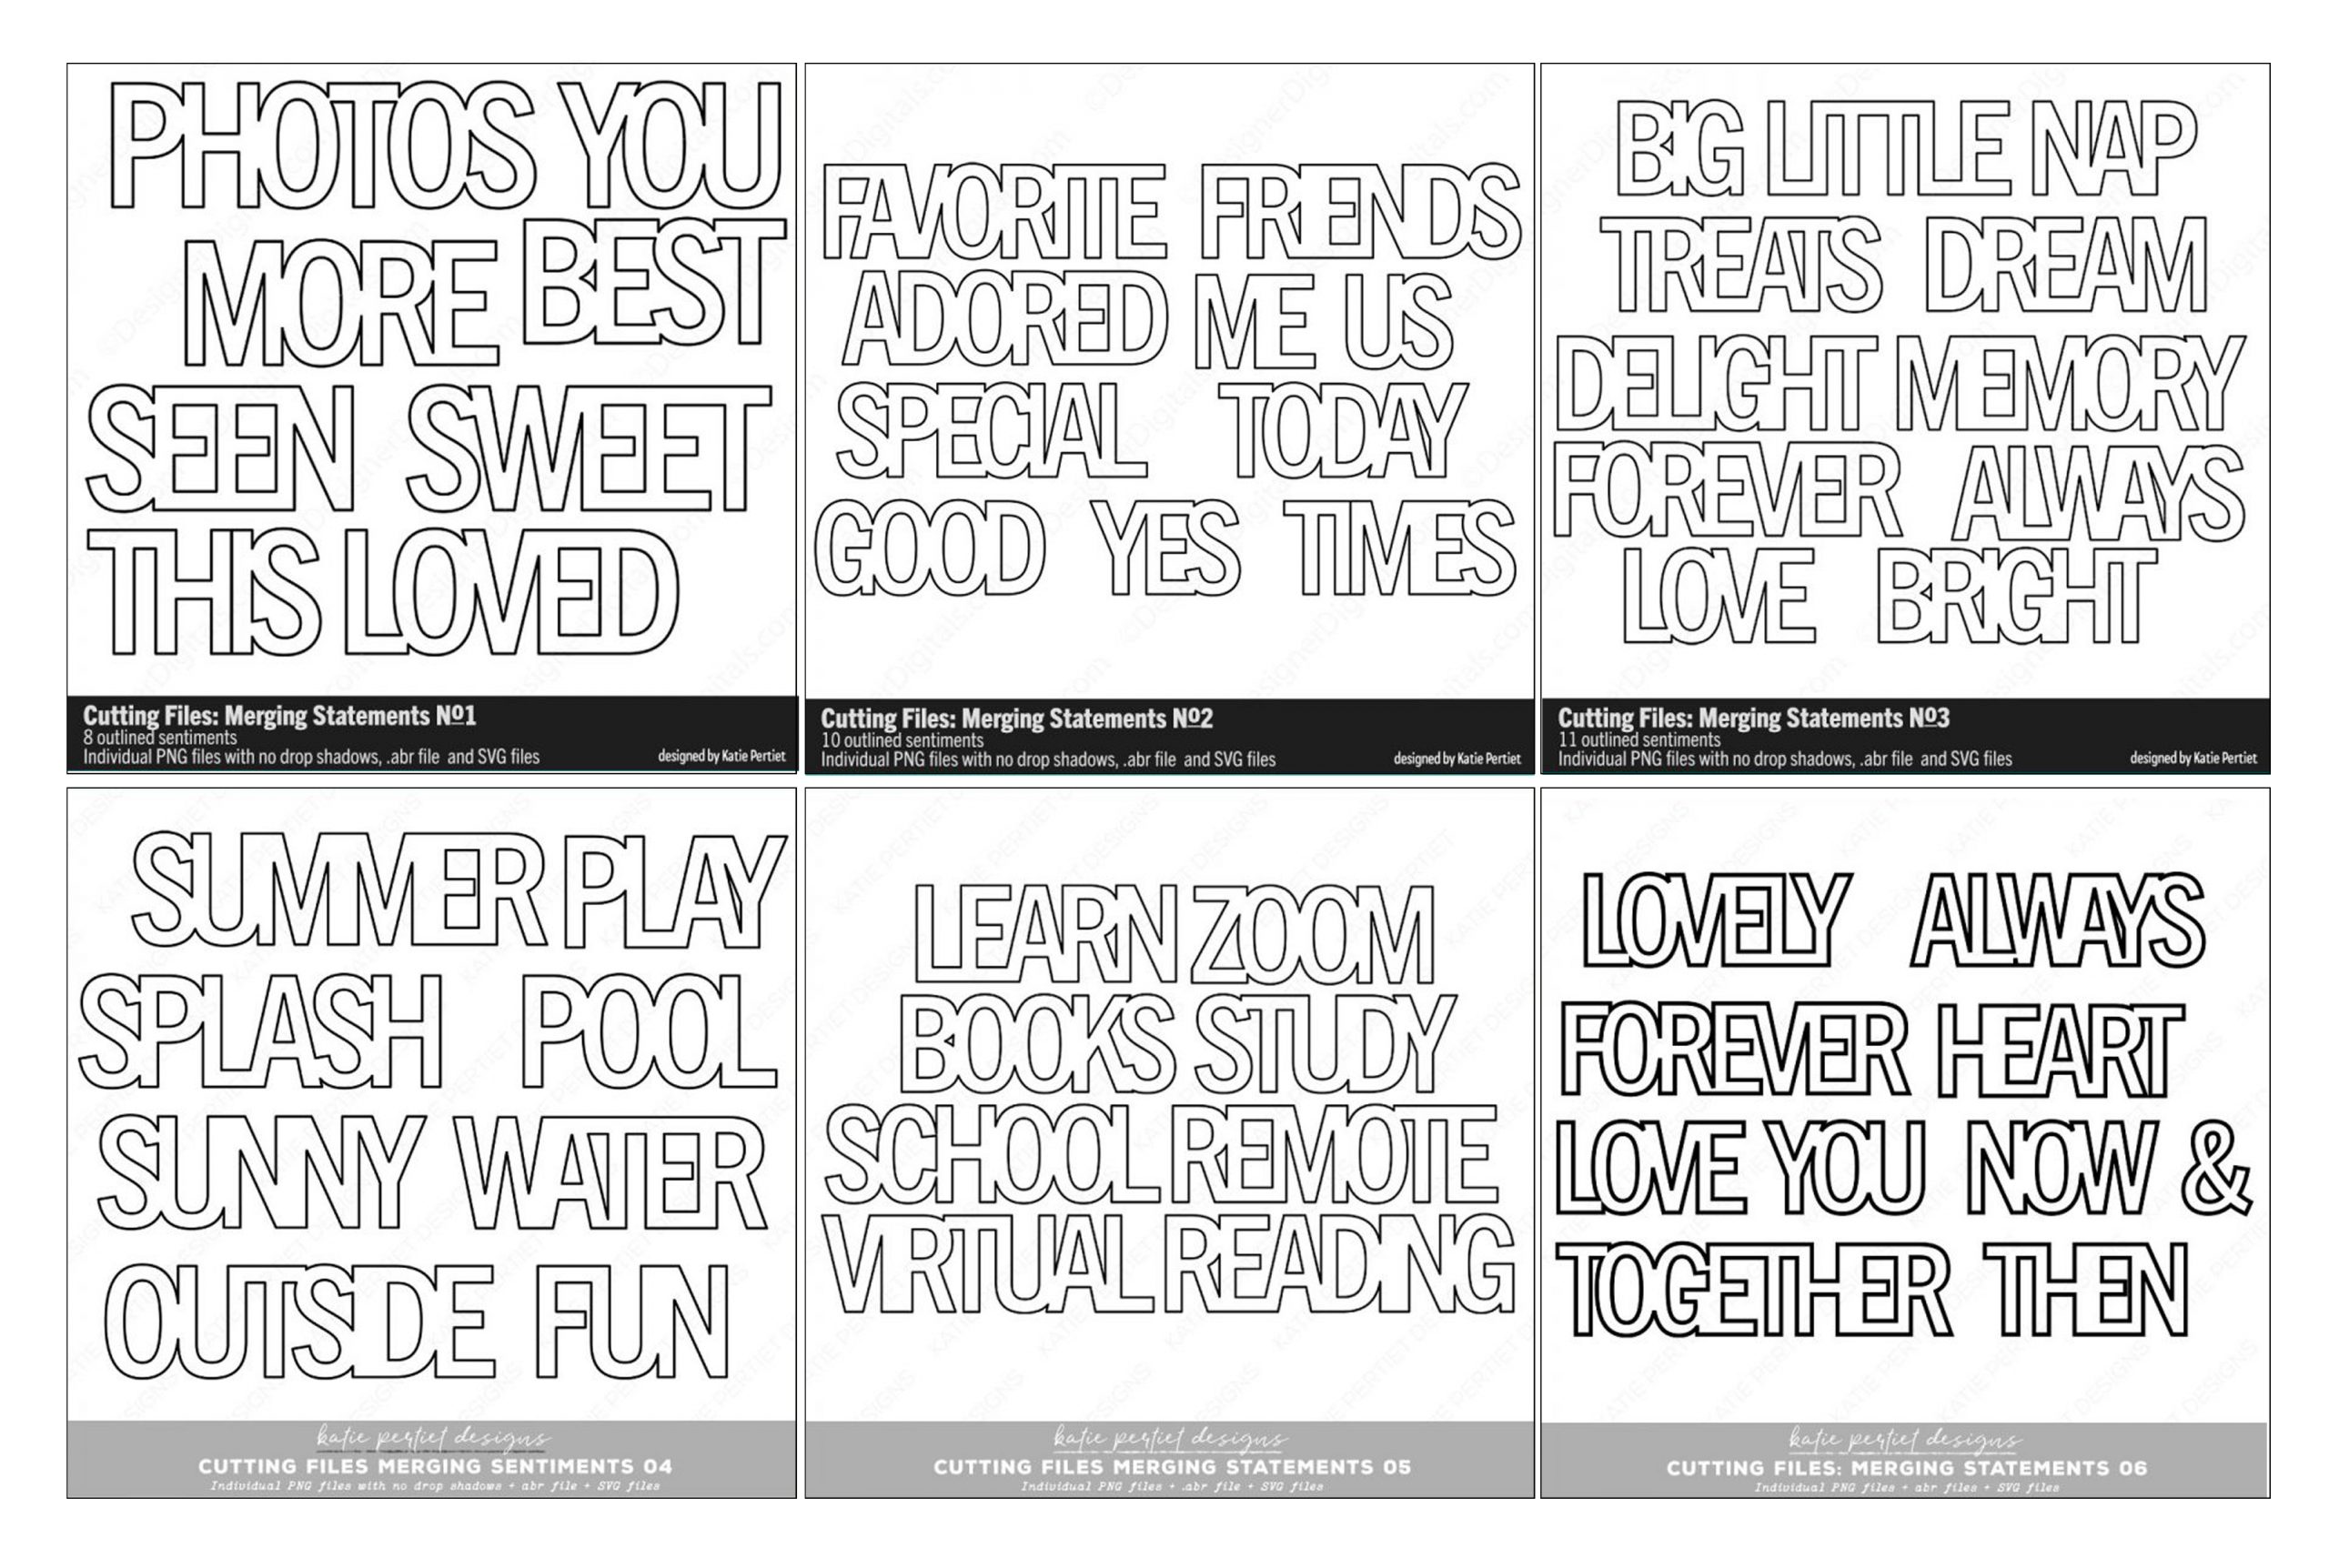
Of course the easiest way to use them is to clip a paper or colour to them and add a shadow, making it look as though they have indeed been cut out of paper of card – just like I did here:
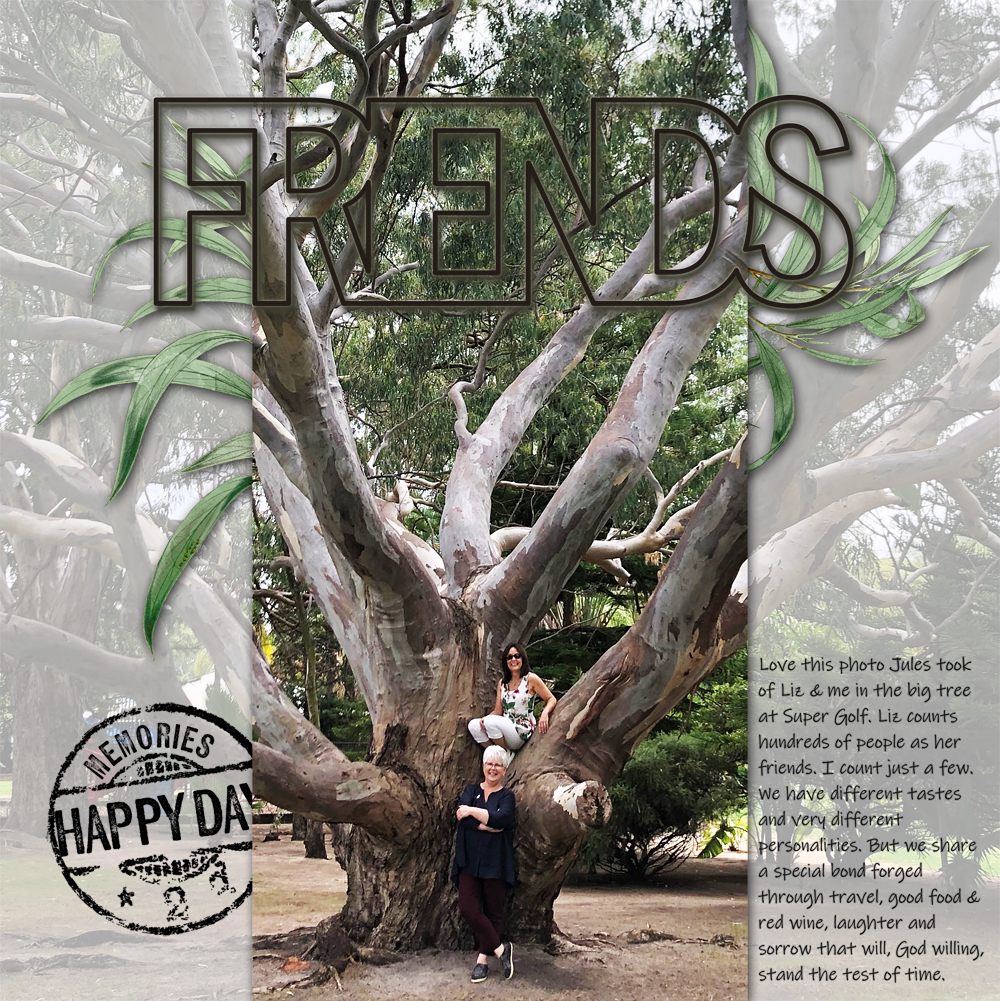
Because of their ‘open’ characteristics – they work especially nicely over the top of photos, and you can of course, stack ’em to make a really big title:
Another way to use them is to create a background. Collect all the words that seem appropriate to your theme and arrange them over your chosen background paper. When you’re happy with the arrangement (perhaps leaving little gaps for embellishment), merge all the cutting file layers. With the Merged Statements layer highlighted in the layers panel, Ctrl click on the thumbnail to create marching ants. Go to Select>Modify>Expand and expand by about 5 pixels. Then with your background paper highlighted in the layers panel hit delete. This will cut the marching ants selection from your background paper. Delete your Merged Statements layer and add a drop shadow to your background paper.
Linda used them to great effect on her Splash page. She created a layer under the title and clicked in the title with the magic wand tool and contracted the area by a few pixels. Back on the lower layer, she filled in the selected area with the paint bucket tool and created a clipping mask. She added a shadow to the clipping mask. Then she clipped the paper to the clipping mask.

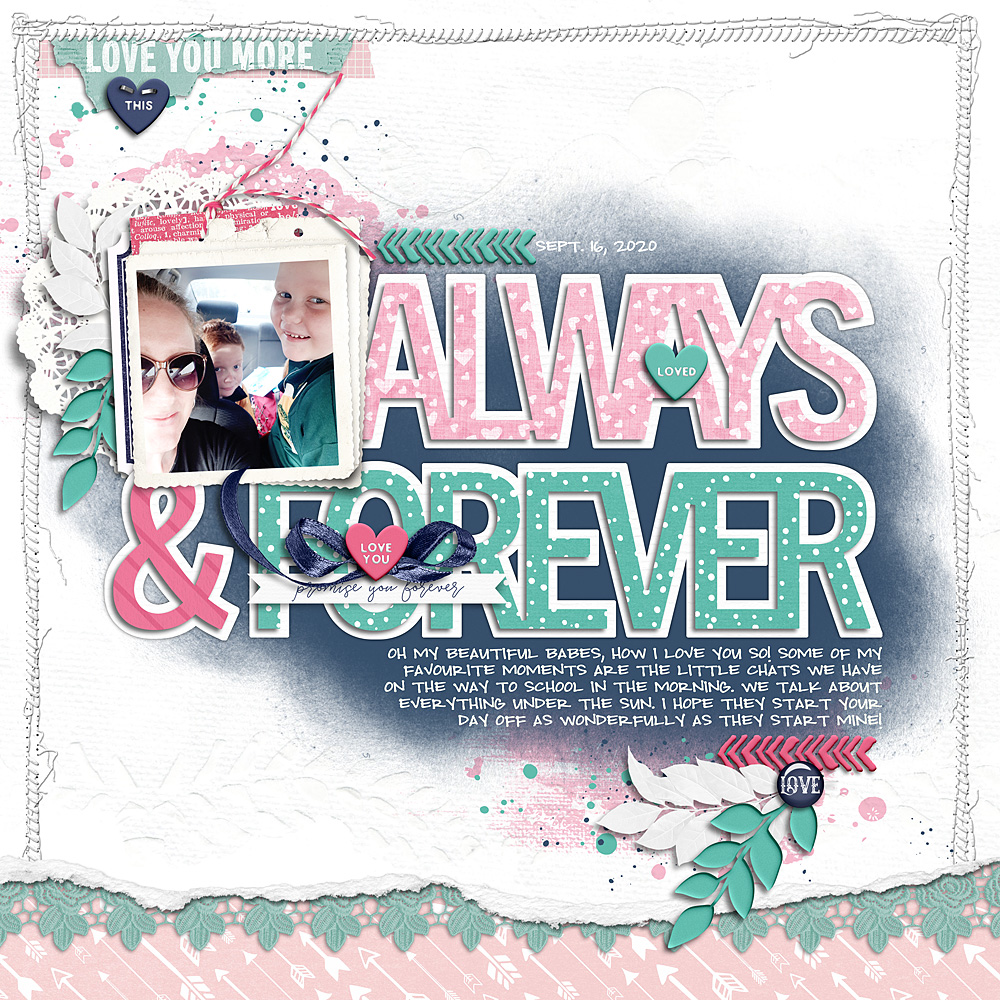
Tracey – the master of large titles – used them on her Always & Forever page to create a layered paper effect.
To create the ‘popped up’ layer of the title:
She selected the inside of the words with the magic wand tool. (you have to make sure ‘contiguous’ is ticked) and
created a new layer. She then filled inside the marching ants with the paint bucket tool to create a solid layer and used it as a clipping mask for her patterned paper and added a shadow.
For the background layer of the title:
Tracey followed steps 1-3 above and then merged the 2 layers together. She used the paint bucket tool again on the merged layer to make it solid as she had a slight gap between the two layers when they merged. Then she clipped a white paper to it so the title could stand out better on the dark blue paint layer.
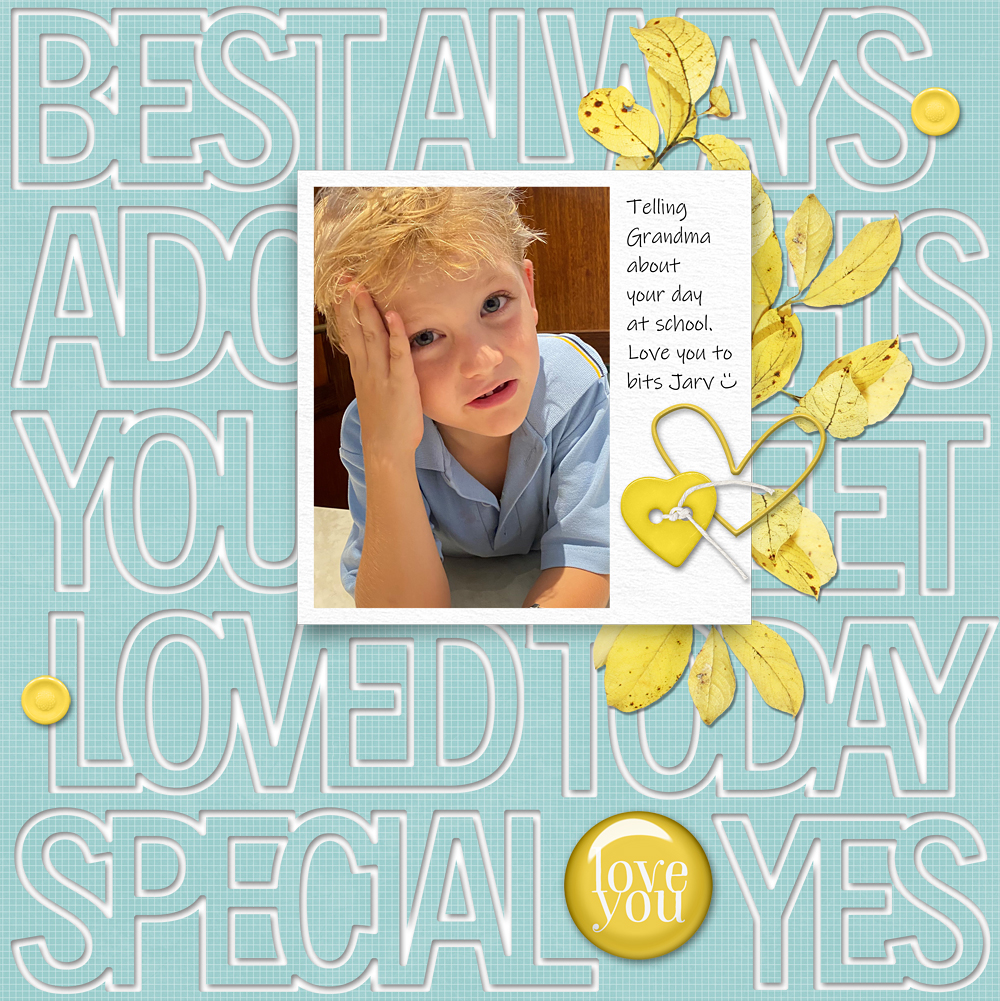
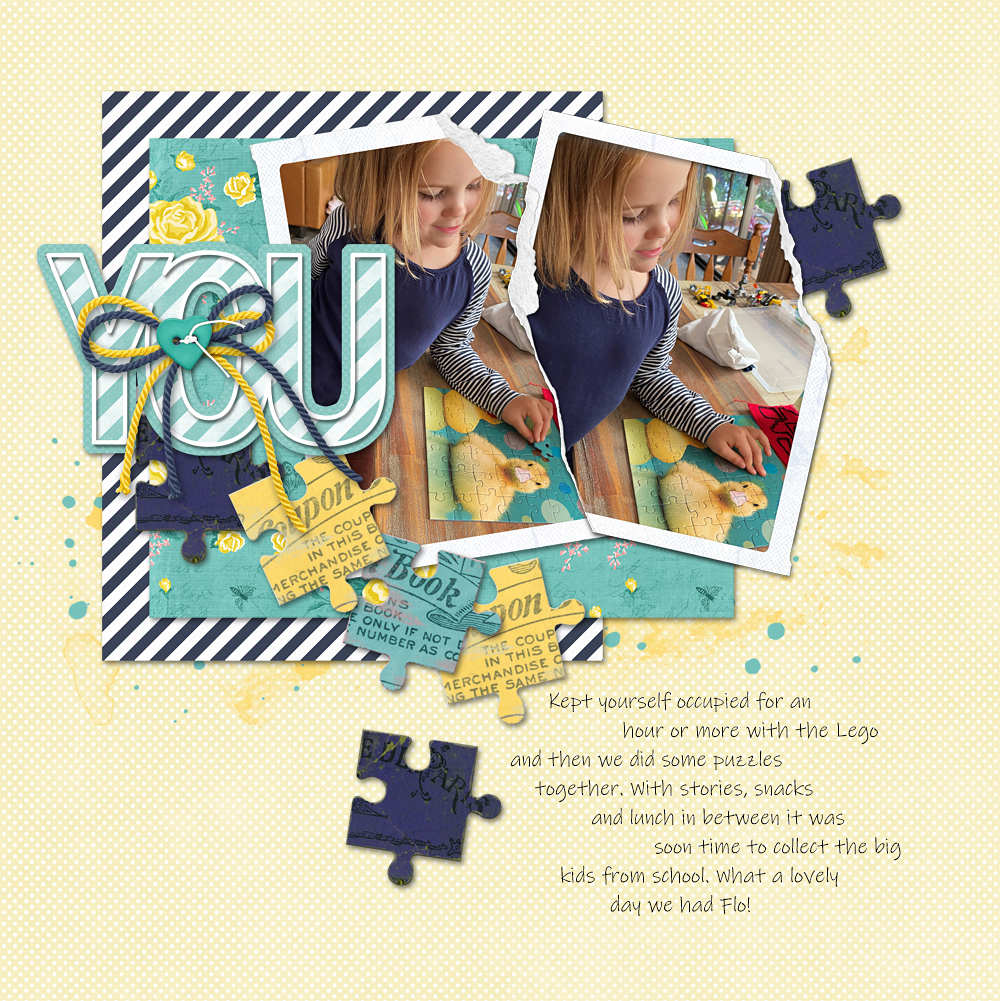
I used a variation on this process to make the title on my You page. After placing the Merging Statements on my page, I used the magic wand inside the element and then expanded the selection by about 20 pixels (I think! – you might have to play with it to get it the size you want). I created a new layer using that selection, filling it with the paint bucket tool to make a clipping mask for the teal paper. I moved that layer underneath the merging statement. I then filled the Merging Statement with striped paper – there are multiple ways to do this, but an easy way is to again click inside the element with the magic wand and expand your section by 1 or 2 pixels. Put the selection on a new layer and fill with the paint bucket to create a clipping mask for your paper. I then brought the Merging Stement to the front layer and clipped a white colour to it.
How will YOU use the clipping masks on your next page? Please join me in the Get Inspired Gallery where I will be popping my new layouts with credits. Don’t forget to add your 100% KPD product layout to the March Challenge Participation Sign-in Thread to earn shopping rewards!
Happy Scrapping everyone!

Follow Us