
Let’s Blend Challenge – Blending Masks

Hi Everyone – It’s Joanne (jcaruth910) with this month’s Let’s Blend Challenge. Blending different masks to create one mask is a fun way to create a custom mask for your layouts. While this certainly is not a new idea, I thought we would play around with them this month. Here’s how I do it.
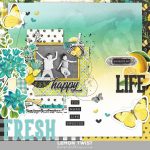
For this page, I used a stamped block mask and a Page Fade mask. I started with the page blend and clipped a paper to it and merged those layers together. I then added the stamped block, flipped it and the sized the two masks to fit together. After that, the photo was sized and clipped to the stamped block, and embellishments were added.

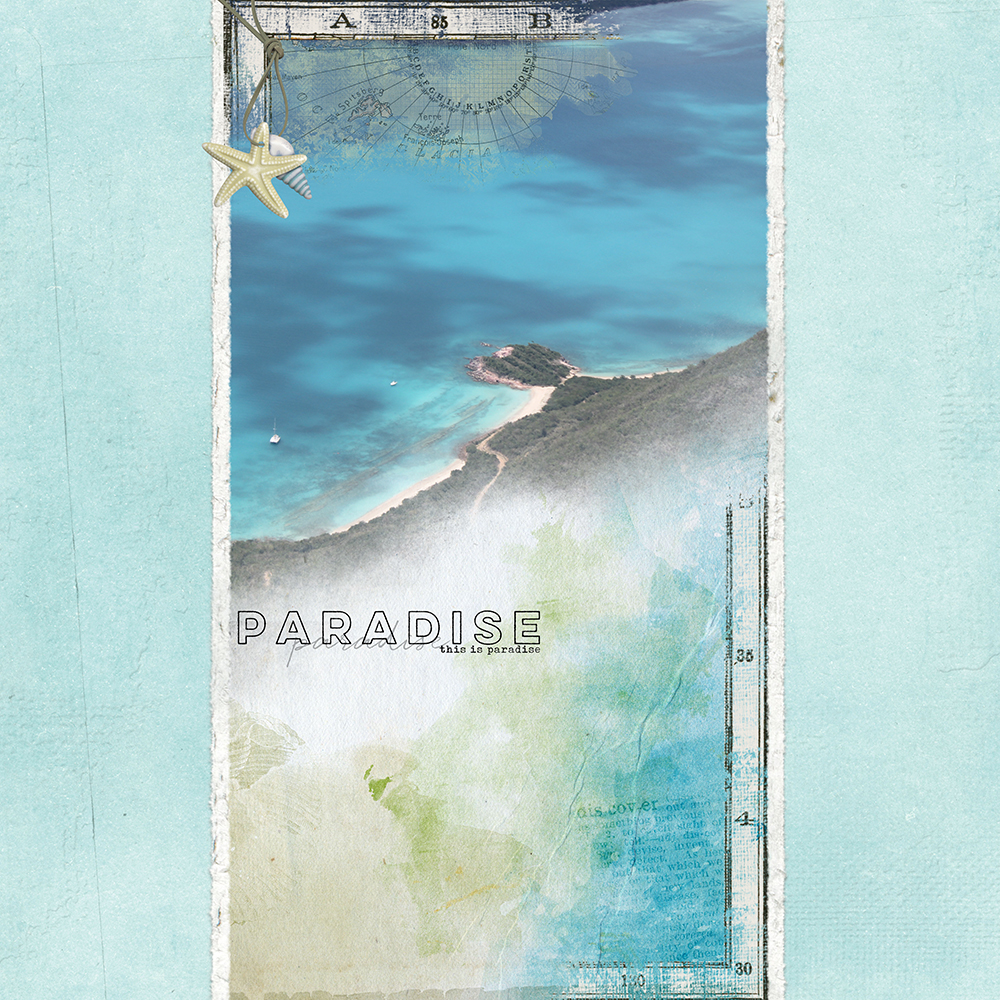
This page uses two of the same masks, one is just flipped, and nudged a bit to create one vertical mask. I kept them separate and clipped the photo to the top and a beachy paper to the bottom. I then made a duplicate of each of the flipped masks and merged them, and clipped a textured paper to them to create the Border along the two vertical edges, mainly so I could get the rough edge.
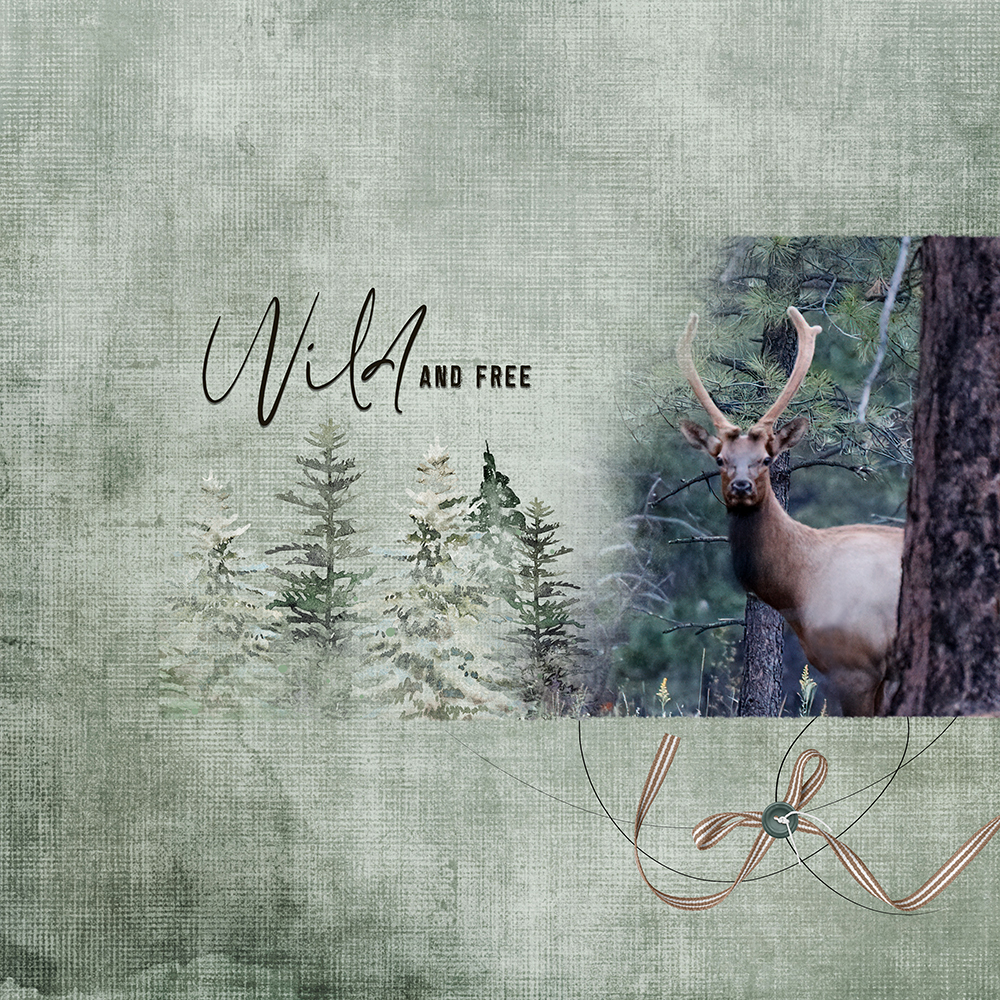
For this page, I clipped a paper to one portion of the blended mask, and then also clipped a transfer to that. My photo was then sized and clipped to the other mask.
I’ve used the freebie masks that Katie has generously provided, and I’ve posted my pages in the Let’s Blend Challenge Gallery and look forward to seeing your layouts there also. Remember to also post your layouts in the August Participation Sign in Thread for proper credit.
Enjoy!

Follow Us