Layering with Filmstrips
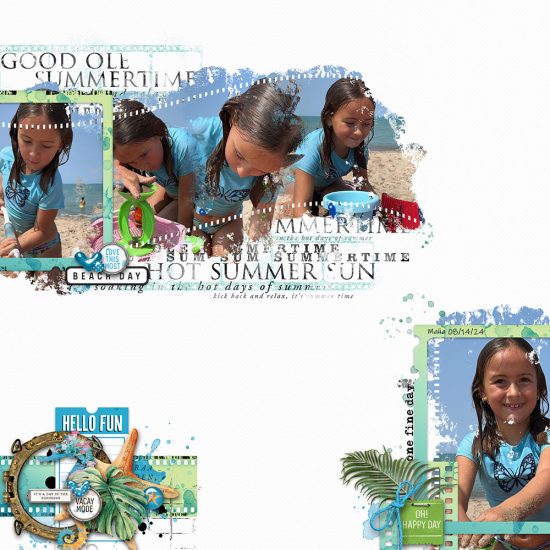
Hello all ya’ll creative minds!
This month’s layering challenge is all about using film strips to create a vintage feel in your projects. Film strips remind us of a time before smart phones and digital cameras. They can be used in many ways, such as creating timelines, highlighting key photos, or displaying images for special events. Film strips are perfect for themes like family history, special occasions, travel, or everyday moments.
Katie has a plethora of filmstrips and film frame options in the store. Here is the freebie pack she has provided for this challenge. I have created a few steps for completing a layered look for your layout using filmstrips.
- Choose a film strip template or digital element.
- Layer and arrange your film strips over patterned papers, solid colors, or textured backgrounds. You can stack multiple film strips at different angles to create depth and dimension.
- Add shadows to your film strips to make them look more realistic. Adjust the opacity and angle of the shadows for the desired effect.
- Embellish your layout with stickers, flowers, buttons, or word art that matches your theme. You can also add frames, tags, or washi tape alongside the film strips for a more dynamic look.
- Experiment with different colors and textures to enhance your digital scrapbook. Change the color of the film strip to match your theme or blend it with textures like paper, canvas, or wood grain for a unique effect.
- Don’t forget to include journaling to tell the story behind your photos or add your favorite title.
Our team has created some gorgeous layouts to inspire you.
Creative Team Member Erin (ErinR) designed this stunning layout using Filmed MultiPhoto Mask Layers 01 to display a series of photos. She emphasized one of her photos by adding a slide frame. She also replicated the look in the bottom right corner. She has also included a variety of film strips above and below the photos, resulting in a gorgeous layout.
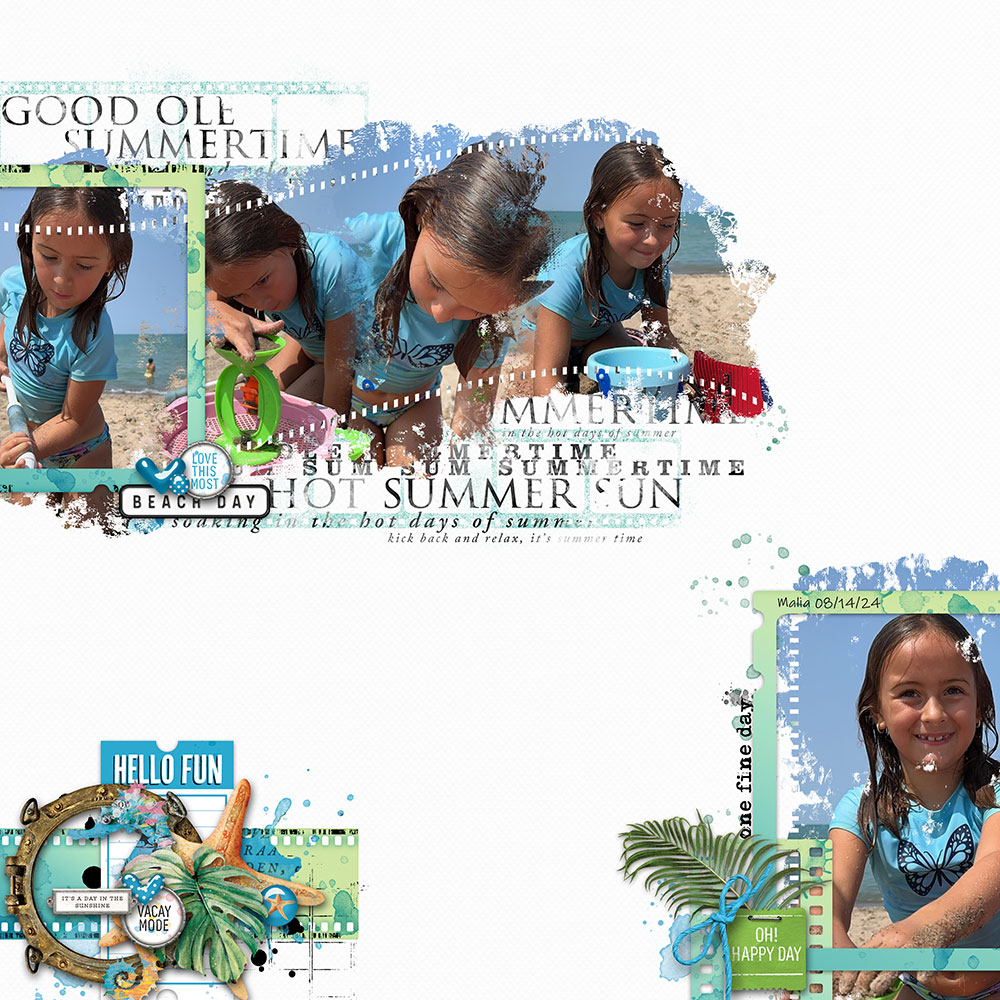
Erin’s supply list includes: Filmed MultiPhoto Mask Layers 01, Cottage Charm Solids Paper Pack, Vintage Artistry Sunburst Filmstrip Frames, Vintage Artistry Sunburst Wishing Bubbles, Vintage Artistry Sunburst Ephemera, Vintage Artistry Sunburst Ephemera Plus Pack, Watery Typecast Sentiments 14, Readymade Layers: Scatters 15, Readymade Layers: Filmstrip Clusters 07
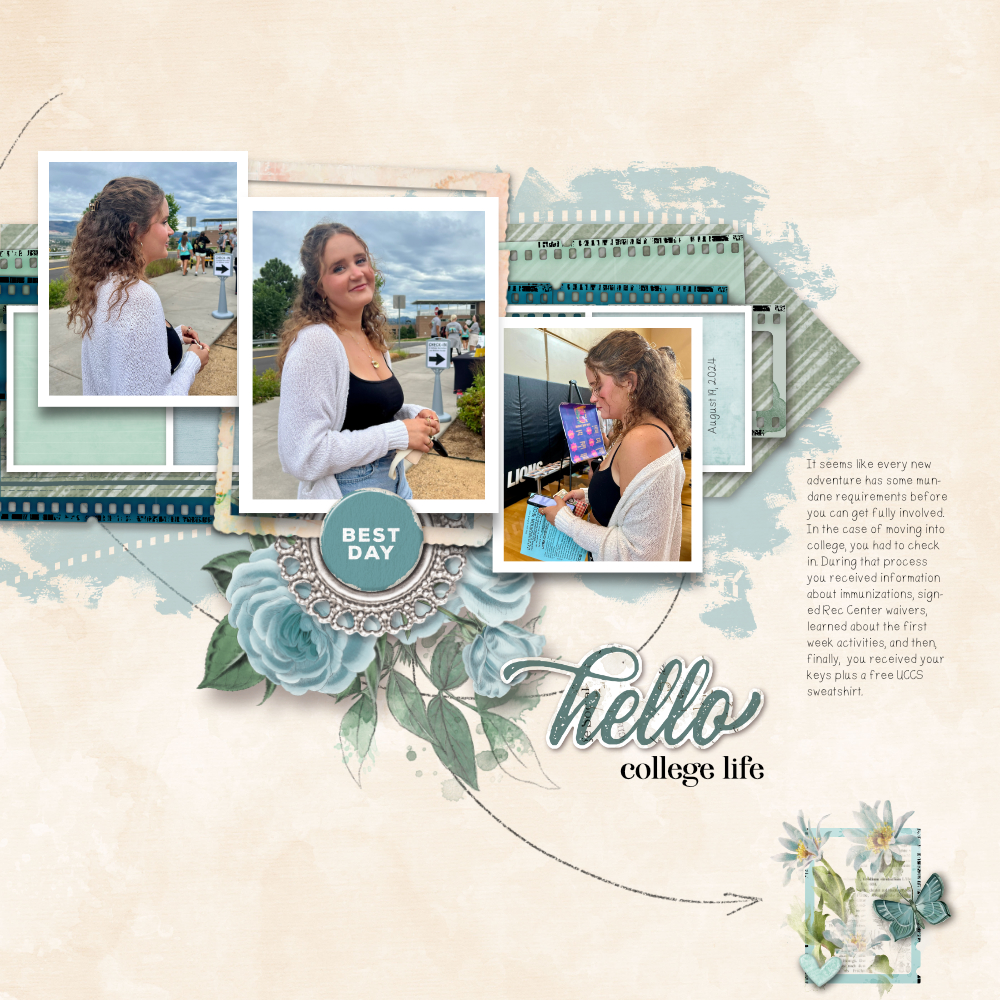
Creative Team Member, Valerie (nana_vg) created her layout with a sequence of photos documenting the first week of college life. She arranged the photos beautifully, using an arrow frame filled with patterned paper that matched her color palette. She also added ready-made clusters in the bottom right corner and a filmstrip mask as a brush in the background. She completed her look with layers behind and on top of the framing. Fabulous journaling and title work complete this stunning and well thought out layout.
Supplies used in this layout: Layer Works 1876, Layer Works 1990, Scrap Layers Layered Template 05, Filmed MultiPhoto Mask Layers, Vintage Artistry Tranquility Chipboard Bits, Vintage Artistry Tranquility Ephemera, Vintage Artistry Tranquility Solids Paper Pack, Vintage Artistry Tranquility Transfers 03, Pencil Twist Arrows Brushes and Stamps 02, Thin Classic Photo Frames Curled and Flat 03, Readymade Layers: Botanical Clusters 14, Readymade Layers: Botanical Blusters 45, Graphed Notebook Paper Pack 01, Palette Textures Paper Pack 18, Palette Textures Paper Pack 07
Creative Team Member, Sharon (Shannamay) has used Handrawn Film Frames as her focus, creating a beautiful flow. For her background she created a cluster of film frames that extend the photo both above and below the focal point. I particularly like how she included word strips with the names of her little subjects. She has used these films strips creatively, I love it! 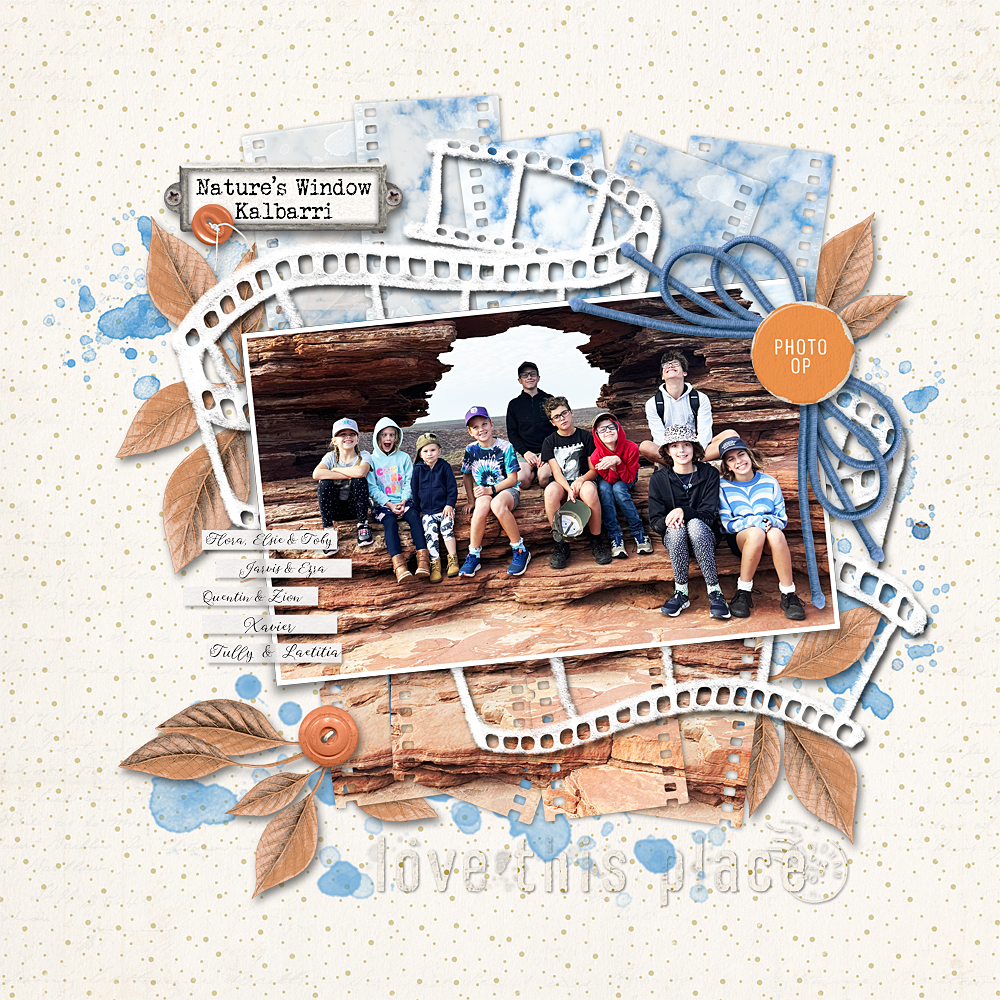
Supplies for this layout: Hand Drawn Film Frames 02, Vintage Artistry Everywhere Filmstrip Frames, Vintage Artistry Everywhere Ephemera, Vintage Artistry Everywhere Chipboard Bits, Vintage Artistry Everywhere Ephemera Plus, Vintage Artistry Wherever Ride Transfers 03, Thin Classic Frames 02, ARToptions Mini Mix 33, Color Swatch Ochre Ephemera, Color Swatch Inkwell Transfers 04, Jaspia Paper Pack
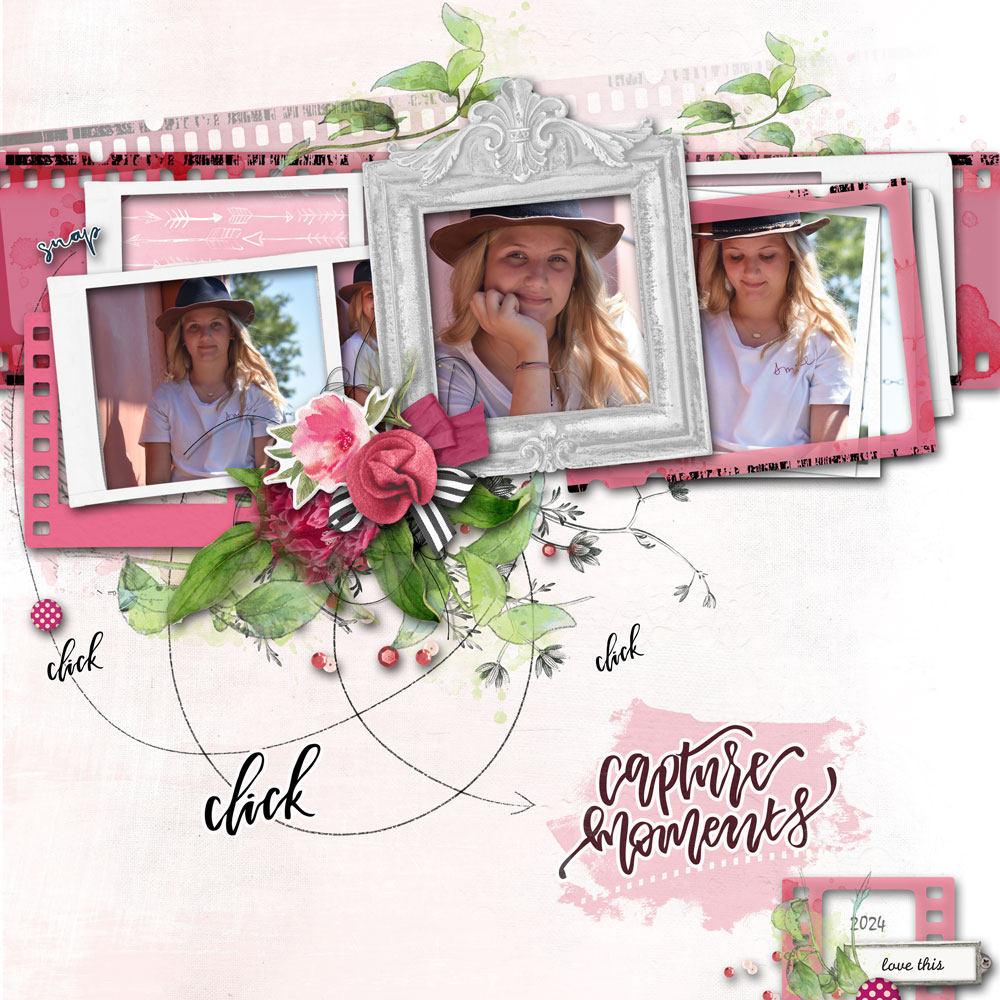
I (myssp) created this layout starting by blending my film strip in to the background.
Next I added a coordinating film strip as a layer ARToptions Rouge Filmstrip Frames.
I then used another pair of film/photo strips, One I layered with patterned paper and the next one I filled the openings with photos.
I then added an additional stacked photo and coordinating film frame and then and additional photo with an ornate frame to top it off. I added photo inspired word art and framed my date in the lower corner for the final touch.
Credits for my layout: ARToptions Rouge Ephemera Plus Pack, ARToptions Rouge Filmstrip Frames, Colored Filmstrips 18, Filmed MultiPhoto Mask Layers 01, Kaleidoscope Blend Transfers 03, Pretties in Pink Paper Pack, Vintage Artistry Blush Ephemera, Vintage Artistry Blush Solids Paper Pack, Filmed Slide Frames 06, Instamatic Frames 06, Layer Works 1515, Pencil Twist Arrows Brushes and Stamps 02, Watery Foliage 27, Layer Works 1727, Plum Harvest Mini Kit, Hand Scripted Brushes and Stamps 03
I hope you leave this post inspired and ready to create a layout of your own. The possibilities are endless. Happy creating!
Thanks to my teammates for creating gorgeous inspiration, You will also find the details for their layouts on their posting in the gallery.
Remember to post your layouts in the Layer It On Gallery and don’t forget that if you make your page with 100% KPD products. Keep track of the challenge pages you complete in the September Challenges Participation Sign-in Thread in the forums.
Rachael – (myssp)

Follow Us