Layer It On Challenge August 2024: The Shadow Knows!
Hi everyone! It’s Amy (Amy L) bringing you the Layer It On Challenge for August. This month we’re looking at shadows in digital scrapbooking.
Shadowing is highly subjective. Some scrapbookers love using lots of blended elements that don’t need shadows; some like to shadow everything heavily. Some like glows and some like drop shadows; some even use both! There’s no right or wrong way, but if you do choose to use shadows, it’s nice to make them look realistic. You can get ideas by looking at the natural shadows on paper scrapbook pages.
In general, the appearance of the shadow will be determined by how far it sits from what is beneath it, either the background or another element.
In Photoshop and Photoshop Elements, we find shadows in the Styles palette. Katie has some great Drop Shadow Styles in the store (here and here). Download the style packet from the store and unzip the file. For Photoshop, open the program and go to the Menu Bar at the top. Click Window>Styles to open the Styles box. At the top right corner, click on the 3 dashed lines and choose Import Styles. Then navigate to the Drop Shadow Styles folder on your drive and click on the .asl file. Click open, and your new styles will be imported into Photoshop for use.
Instructions for installing styles in Photoshop Elements can be found in this tutorial:
There are both drop shadows and outer glows in Katie’s collections. I’ll be referencing drop shadows from this point.
To add a shadow from the collection to an element, highlight the element’s layer and choose a shadow from the Styles window. Once it’s added, you will see an “fx” on the right side of the layer. Click on the drop down arrow next to it and then double click on “drop shadow” to bring up the Styles dialog box. Here you can change your shadow settings if you wish.
Adjusting the Distance slider lets you determine how far from the background you want the element to appear. Adjusting the Size slider makes your shadow larger or smaller on its sides; this affects the softness of the shadow.
Again, there are no hard and fast rules here. You’ll notice that I gave a few parameters below, but that’s just to get you thinking. In the end, you get to decide what you think looks good with shadowing.
For this challenge, we want to try using different shadow looks on our layers for an overall realistic effect. You can make as many layers as you like on your page, but try layering in this order:
1. Elements that you DON’T shadow: a brush, paint, transfers
2. Elements close to the background that have a flat shadow: paper pieces, tabs, postage. For this I would use a distance of 6-10 pixels and a size of 10-15 pixels.
3. Elements with more heft and/or farther away from the background: flairs, lifted frames, small flat flowers. I like a distance of 14-18 pixels and size of 20-30 pixels.
4. Elements with the widest, most diffuse shadows: fluffy flowers, titles on top of everything else, ribbons. You can really increase the distance on these to more than 35 pixels. I generally don’t increase my size much more than 30.
You can manipulate a shadow by putting it on its own layer. Highlight the shadowed element, right click on the “fx” icon and choose “Create Layer”. This puts your shadow on a layer underneath the element. Next, highlight the new shadow layer to play with it. I love to warp my shadow at this point (Edit>Transform>Warp). Click a dot on the warp box and drag your shadow out a little bit. This has the effect of lifting the edge of your element off the page. Then I like to add a very slight Gaussian blur to the shadow and reduce the opacity some. Here’s where you can decide what looks good to your eye, and practice makes perfect!
Here’s another tutorial with some good info on shadows:
The Creative Team gave this challenge a try!
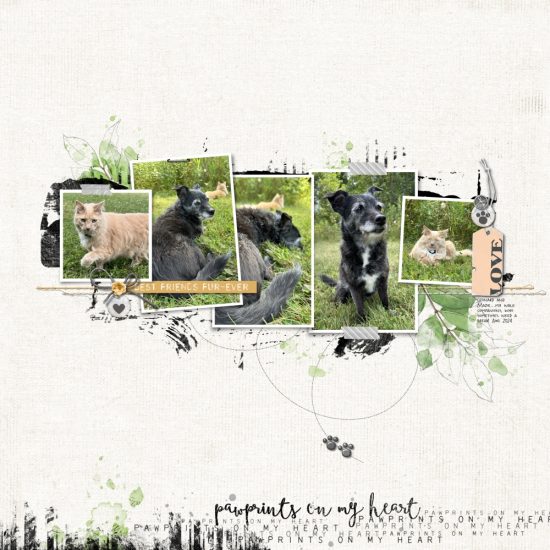
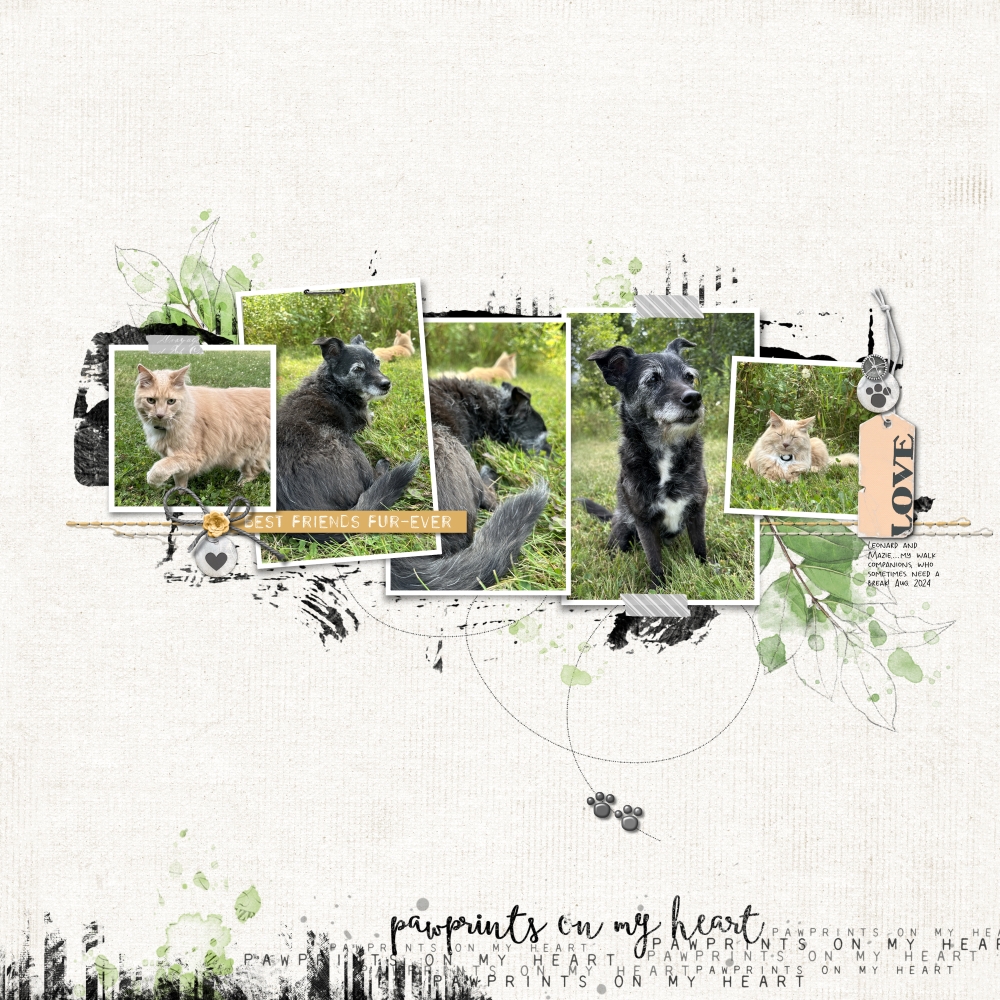
Addie made a fun page about strolling with her fur babies. So cool that her cat is down for this! She has a nice variety of elements of different sizes and distance from the background. Check out the shadow on that bow!
Supplies Addie used: Photo Clusters 56, Puppy Power Scrapbooking Kit, Puppy Power Solids Paper Pack, Texture Marks Stamp Pack 01, Striping Grunge Edgers Stamp Pack 04, Summer Porch Botanical Transfers 02, Twisted Dots Brushes and Stamps 02, Worth Repeating Brushes and Stamps 34, challenge freebies.
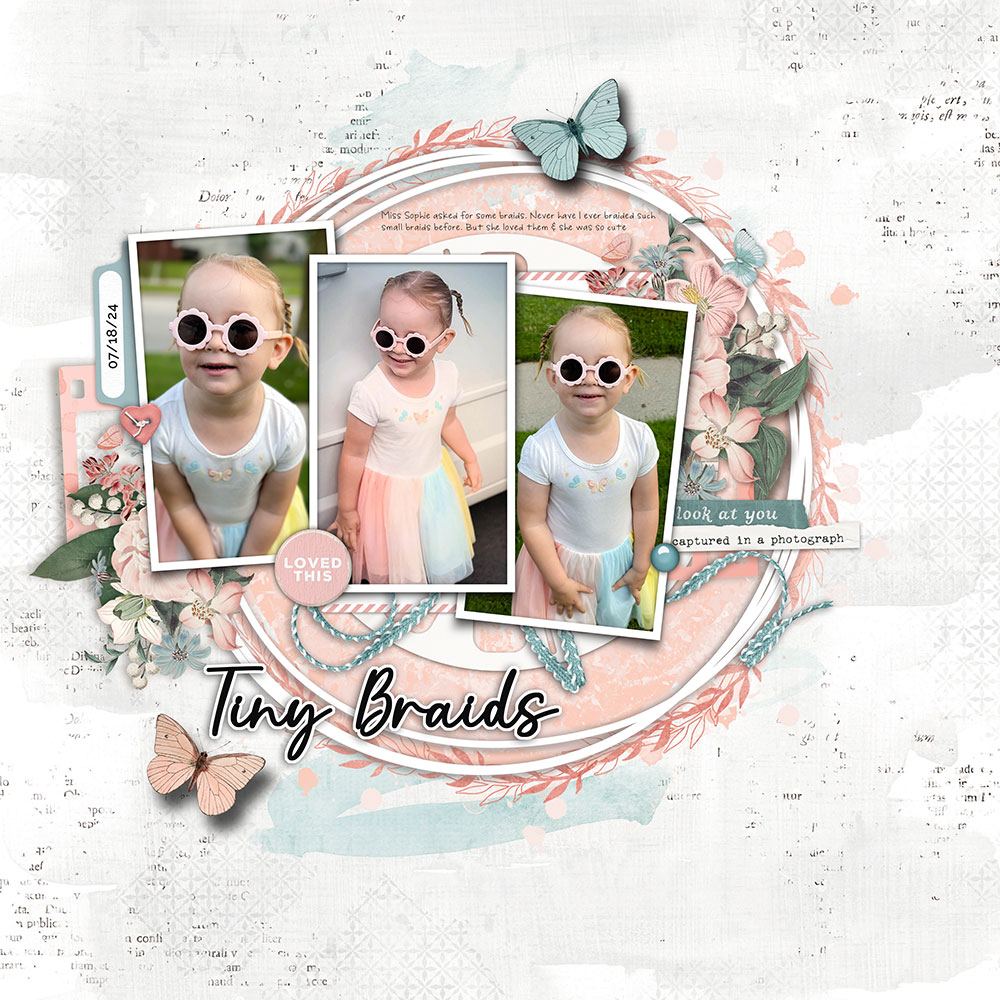
Next, Erin has chosen some incredibly darling photos of her daughter’s sweet braids! Erin’s layering and shadows allows for great depth on her layout. I especially love her butterflies and title work!
Supples Erin used: Black, White and Tan Kit, Classic Frame Layers 01, Cutting Files: Circling 01, DoodleDo Frames 11 Brushes and Stamps, Drop Shadow Styles, Lakeside Flairs 01, Layered Page Foundations 03, Vintage Artistry Tranquility Ephemera, Vintage Artistry Tranquility Ephemera Plus Pack, Vintage Artistry Tranquility Chipboard Bits, Vintage Artistry Tranquility Filmstrips and Frames, Vintage Artistry Tranquility Solids Paper Pack, Watery Scribbles Brushes and Stamps 03.
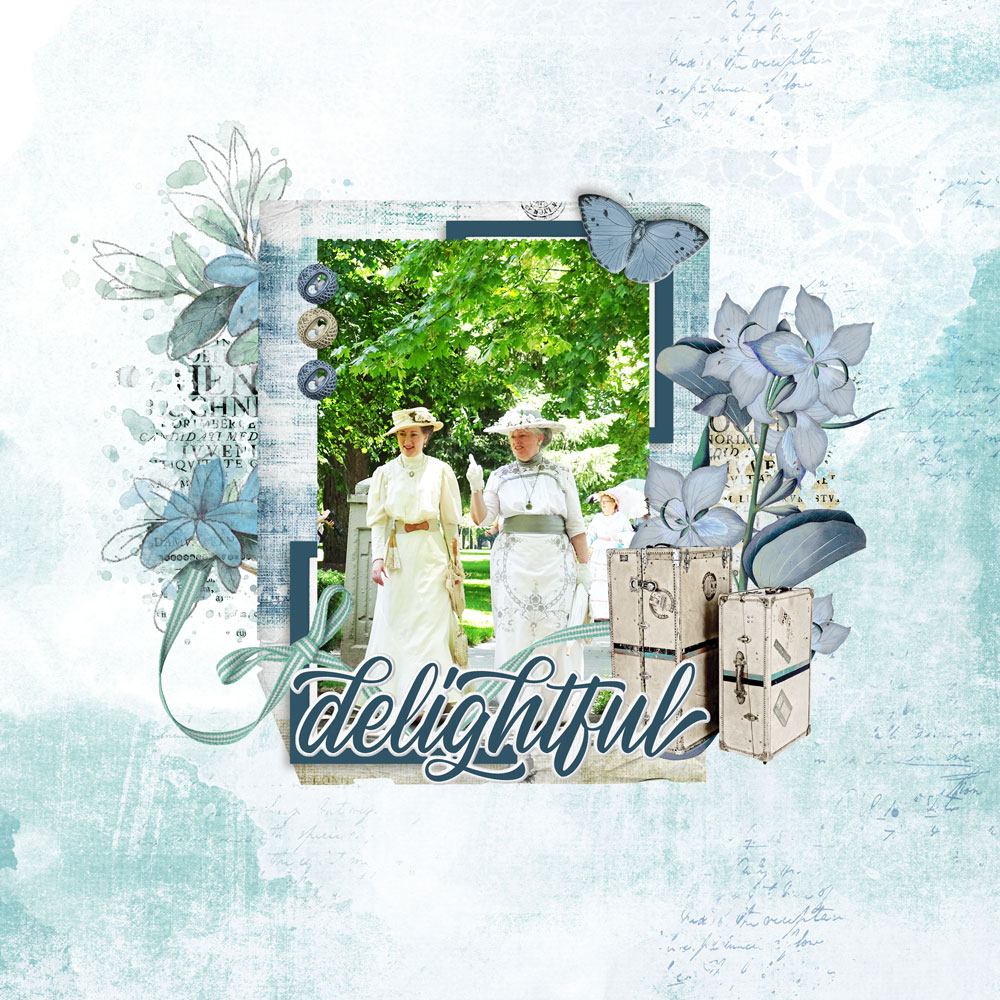
Next is Shannon with a page highlighting some fabulous vintage costumes. I love the pretty colors she used. Another example of a pretty butterfly shadow!
Supples Shannon used: Color Swatch Combo Ocean Breeze Paper Pack, Color Swatch Combo Ocean Breeze Remnants, Color Swatch Combo Ocean Breeze Chipboard Words, Color Swatch Combo Ocean Breeze Transfers, Color Swatch Combo Ocean Breeze Element Pack, challenge freebie.
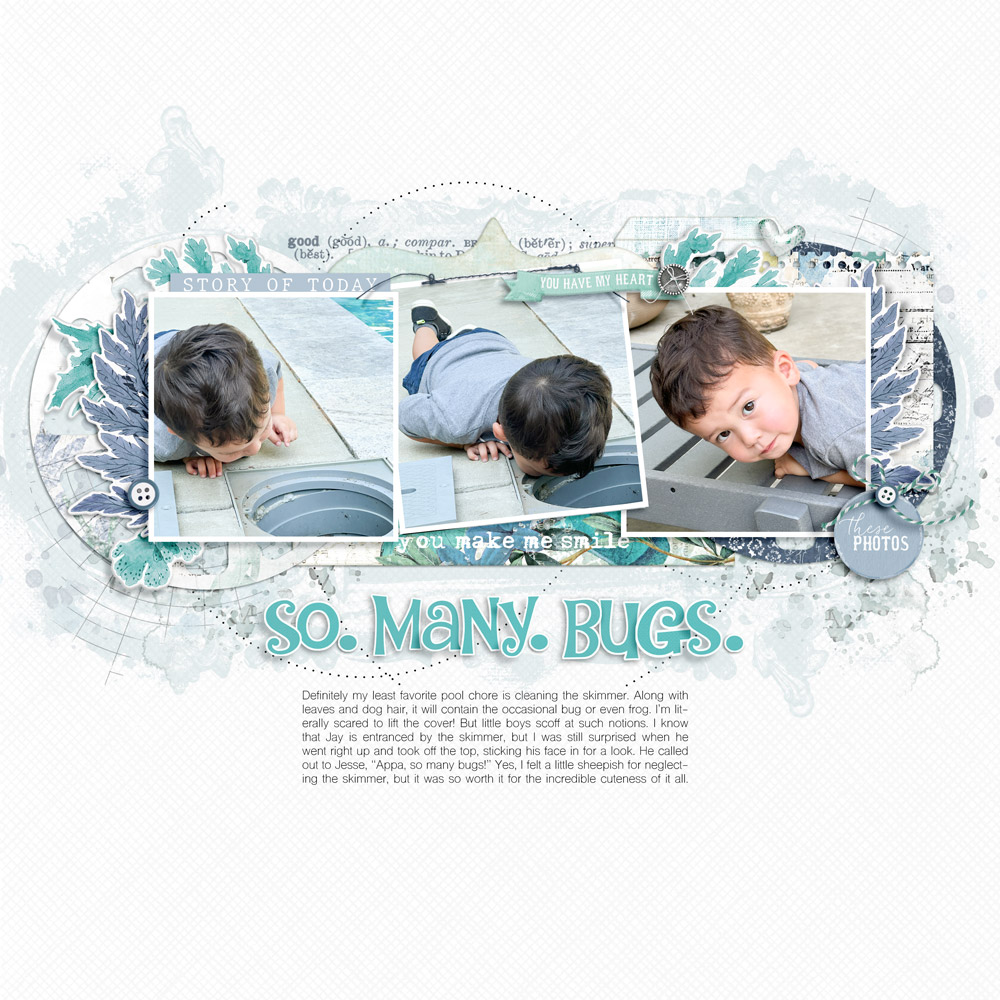
I scrapped my grandson’s fascination with bugs! I had fun lifting my shadows on several elements like the foliage and stitching, and I varied up the shadow looks on the title letters.
Supplies I used: ARToptions Avesta Sentiment Transfers, ARToptions Rouge Sentiment Transfers 01, Cardstock Alphabet: Whimsy Blue, Color Swatch Combo Ocean Breeze Chipboard Bits, Color Swatch Combo Ocean Breeze Element Pack, Color Swatch Combo Ocean Breeze Paper Pack, Color Swatch Combo Ocean Breeze Transfers, Enchanted Easter Solids Paper Pack, Framed Photo Masks 03, Journal Maker: Ocean Breeze, Stamped Stitches 14, Thin Classic Photo Frames Curled and Flat 01, Twisted Dots 01, Vintage Artistry Essentials Stamp Pack, Vintage Artistry Teal Flairs, Vintage Artistry Wedgewood Ephemera 02, challenge freebies.
I hope this gives you some ideas about trying new shadow techniques on your pages. Katie has generously provided a freebie pack here which you can use if you wish (not required). I hope you find something in this piece to inspire you, and I’ll be eagerly waiting to see what you create! Please post your pages in the Layer It On Challenge gallery as well as the August Challenge Participation thread. Enjoy your scrapping!


Follow Us