
Get Inspired: Coin Holder Frames

Good morning everyone,
We are enjoying the most gorgeous Autumn weather here where I am. I hope that wherever you are today, you are able to take a little time to enjoy the small blessings.
I’m not sure about “Getting you Inspired” today, but I have certainly been inspired by the way coin holders have been used in the gallery lately!
Check out these few examples.
The first by nana_vg where she has used the coin holders to hold coloured paper in her bright and boyish page:

The second by myssp where Rachael has clipped patterned paper to a coin holder and used it as a layering element – gorgeous!

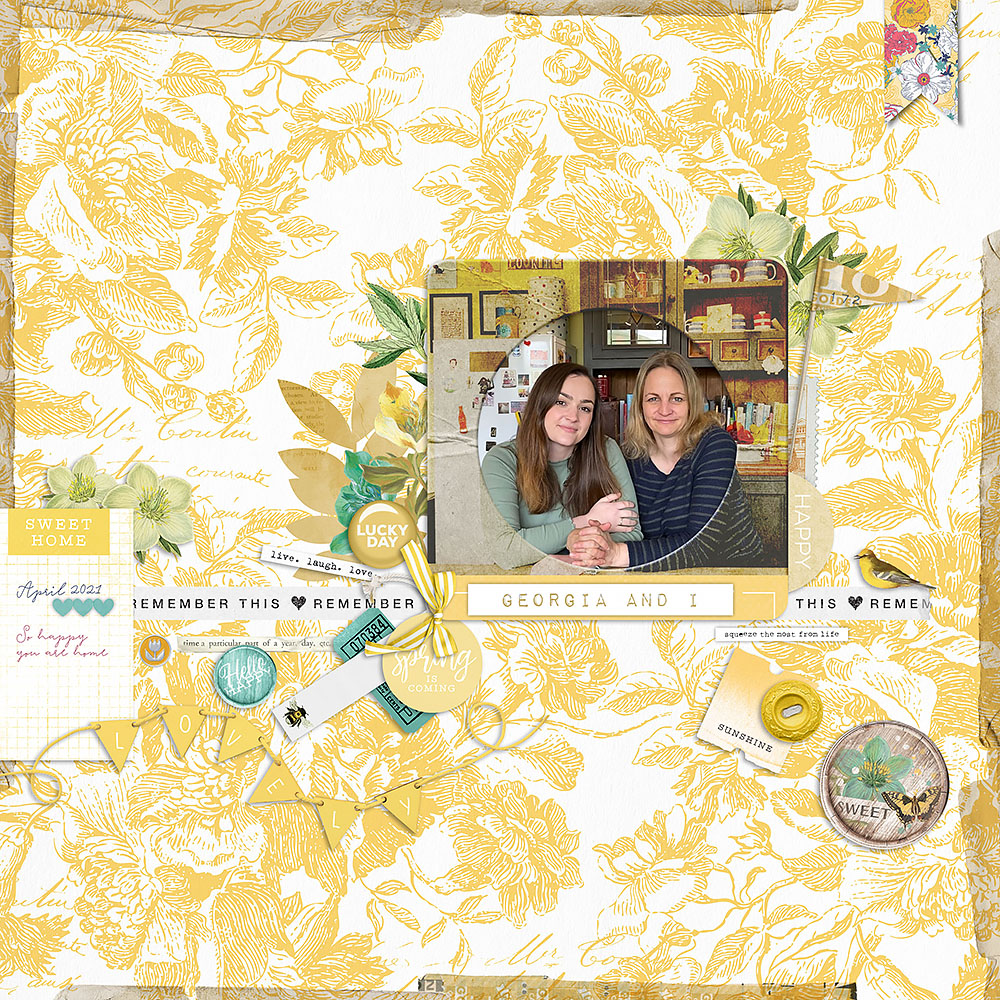
And in this third example by britgirl , Mel has not only filled the coin holder frame with her photo but clipped the same photo to the holder itself. I’m guessing she has played with blend modes to get the very cool effect she has achieved, and I’m hanging out to lift this idea as soon as I get a suitable photo!
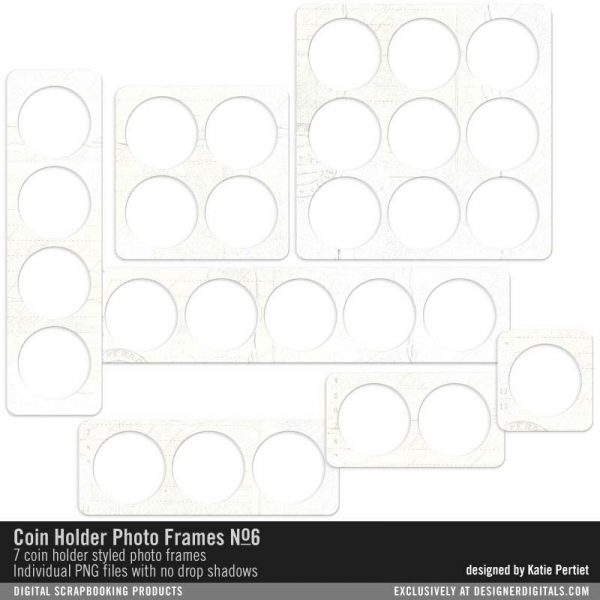
Coin Holder Photo Frame No. 01 was released into the store in 2010 and a quick search in the store will show that there have been 5 more packs released since then containing different configurations and different colours.

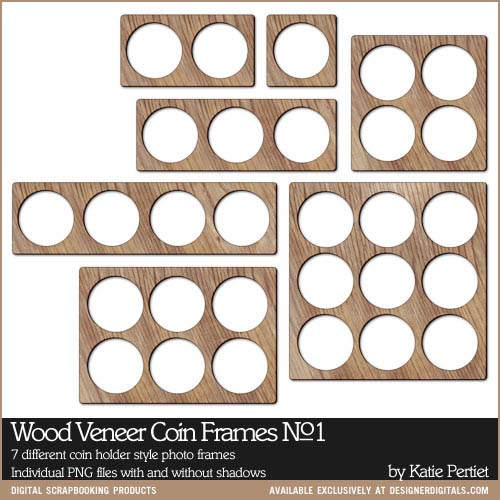
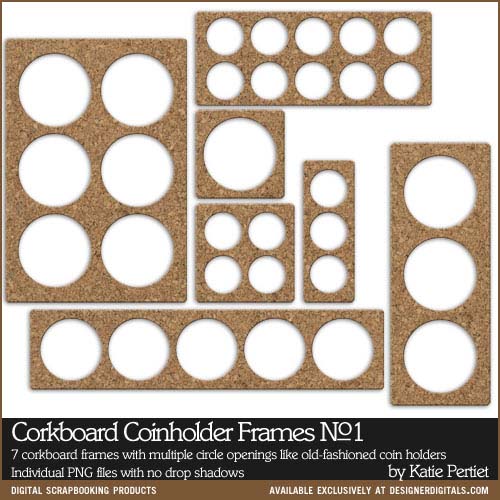
There are also wood veneer and cork versions:
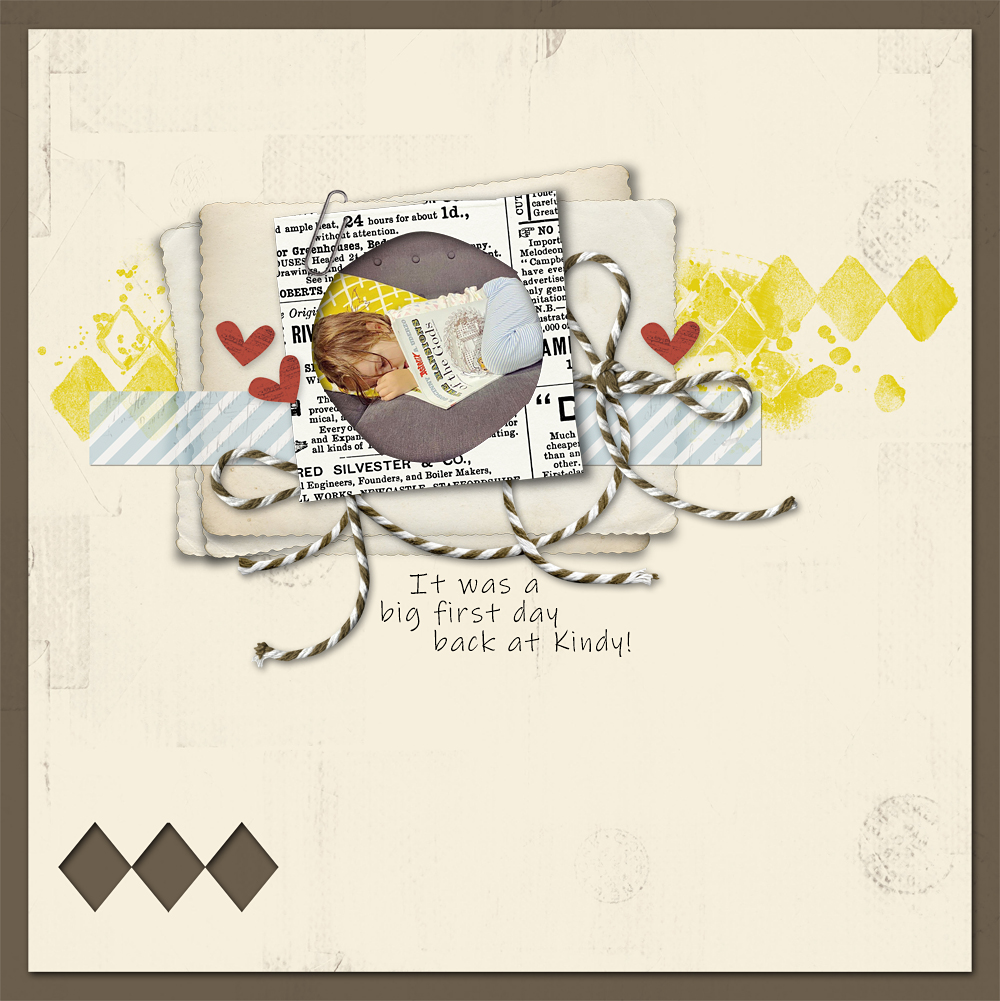
In my first example today, I have used the Coin Holder Photo Frames 05 pack which look as though they have been roughly cut from paper.
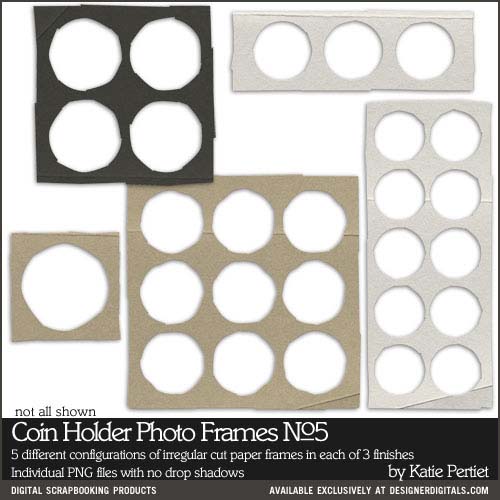
I clipped some text paper to the frame to make it look as though it has been cut from newspaper. I’ve put he shadow on a separate layer do I could nudge out the corners a little to make it look curled.
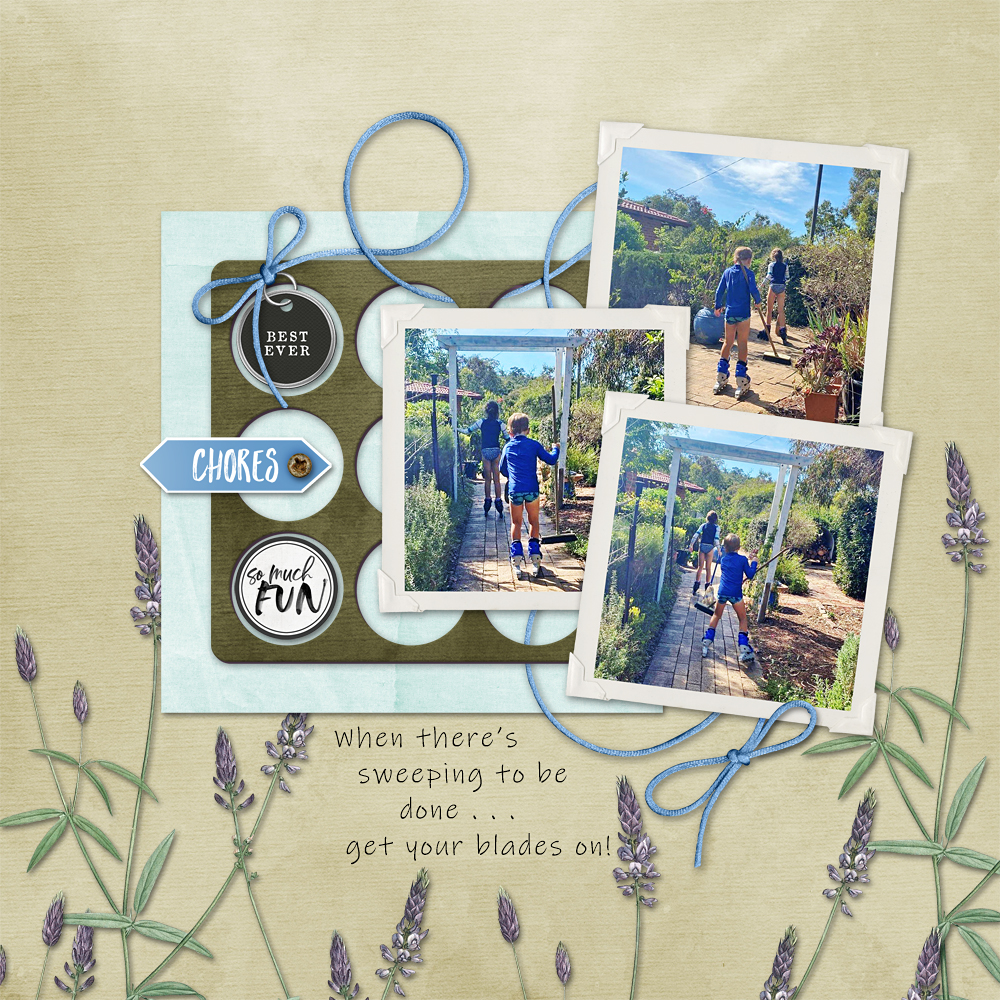
In my second, I’ve used a holder from the Coin Holder Photo Frames 06 pack as part of a layered design.
I like the way the holes give a very open look to the page, letting other elements and colours show through. A tip of course is to always check out the product example pages in the shop for ideas on how to use these elements.

In my last example, I’ve gone back to the original pack and clipped paper to the holder to alter the colour. I usually change the blend mode on the paper layer to ‘multiply’. This preserves the texture and folds which might be in the holder. This does darken the paper somewhat which is something to be aware of when choosing a paper for this technique. I like my coin holders to look quite ‘thick’, so I usually duplicate the holder and fill it with a dark colour (you can use control click to create marching ants and then go image>fill to fill with your chosen colour OR you can just clip a solid colour to the bottom holder layer and merge). I then nudge the bottom filled layer 2 pixels to the right and also 2 pixels down. Then I add a heavy drop shadow to the top holder. This page also demonstrates how the coin ‘spaces’ can be filled with all manner of interesting elements (check out Kayleigh’s gallery to see a master at work with this technique!).
I hope I’ve inspired you to look out your coin holders this month 🙂 My layouts with credits will be in the Get Inspired Gallery and I hope you will be able to join me there. Don’t forget that your 100% KPD product layouts can be added to the May Challenge Participation Signup Thread to earn store rewards!
Happy Scrapping everyone,
Sharon


Follow Us