
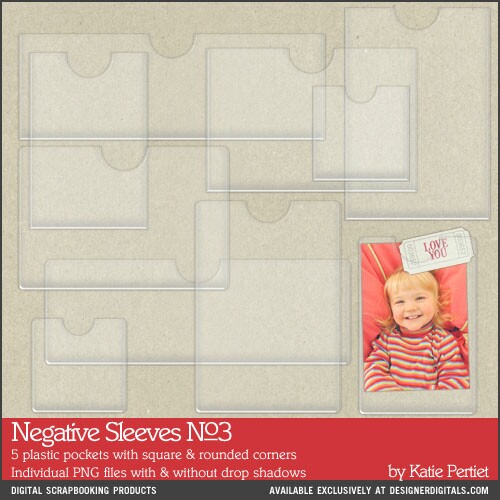
Get Inspired Challenge: Negative Sleeves

Good morning everyone,
Sharon (Shannamay) here, bringing back the negative sleeve today!
While earlier versions have been retired, we still have two packs of negative sleeves, or plastic pockets, currently in the store.
Negative Sleeve 04 Plastic Pockets
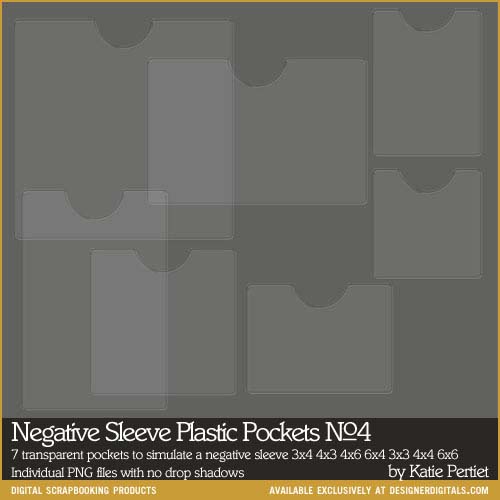
As with the library style pockets we looked at some time ago, these are great for tucking all manner of thing into to help tell your story – or just for the sheer delight of embellishment! When I am struggling a bit for inspiration, a thing I like to do is to conduct a store search for a particular item. The cool thing about doing a search in the store is that often it will not only bring up the various versions of the item you’re looking for, but also a couple of templates that feature that item. I’m not a very frequent template user as I find the process of building a page from nothing so much fun, BUT I love templates for inspiration!!!
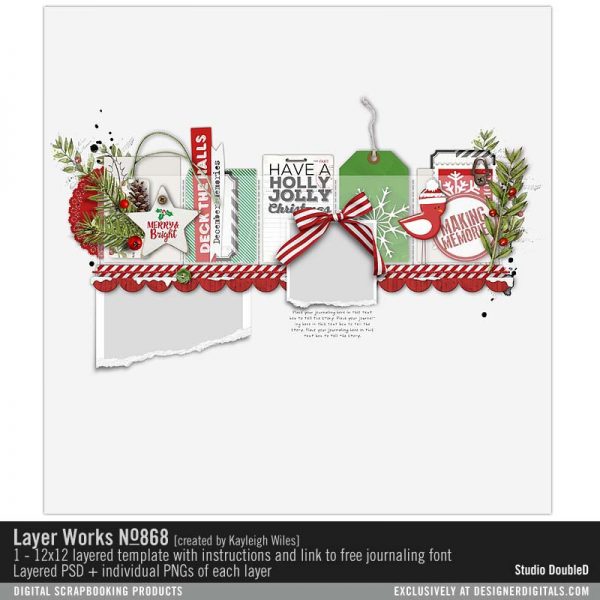
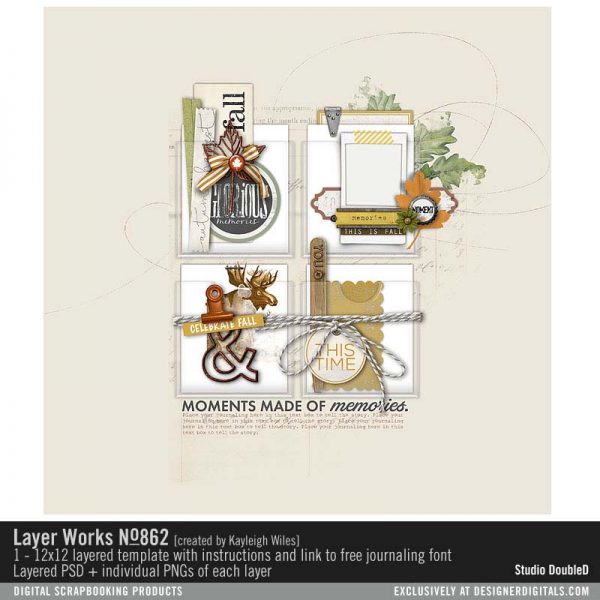
And we can always rely on Kayleigh for lots of that! Check out these two Layer Works templates (from 2017), that use negative sleeves and some notes I made for myself after studying them:
My notes for inspiration:
- negative sleeve from retired pack – but can purchase the template – or add stitching to create pockets in current versions
- elements added under, in and over the sleeves
- photo placed over (and below) the sleeves
- negative pocket more obvious over a darker colour (green tag)
- sleeve can be ‘held down’ by paper strip and stitching
My notes for inspiration:
- negative sleeves used as grid
- brushwork under grid
- items (including paper) in and on top of sleeves
- two sleeves ‘wrapped’ or ‘tied’ together
- photo as part of element cluster on top of sleeve
So . . . time to have a play!
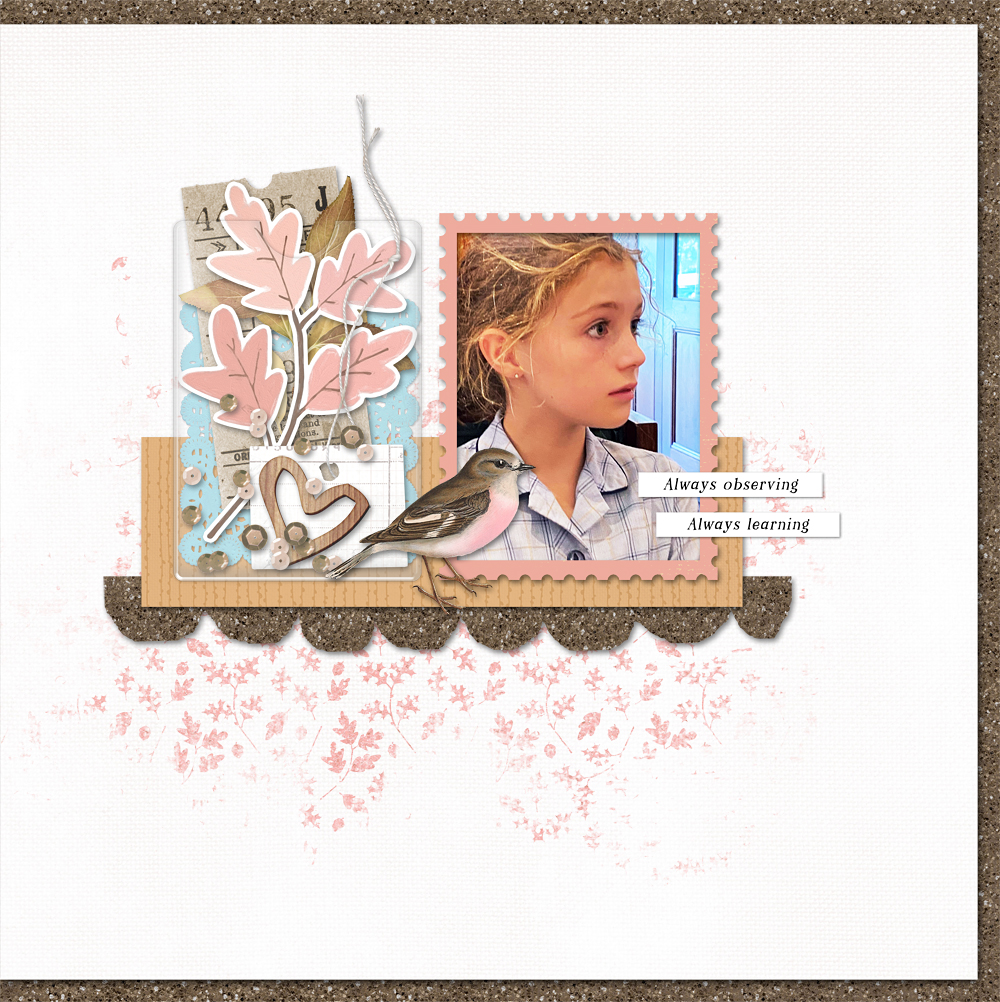
In this layout about my granddaughter, I used a pocket that’s the same height as my framed photo and used cut papers underneath to make a ‘shelved’ design. The pocket gave me a place to include some different bits and pieces including a blue doily that balanced out the rather bright blue down the right side of the photo. I added a bird sticker on the top to tie together the two main elements (photo and filled sleeve), and to underline the theme of watching and learning.
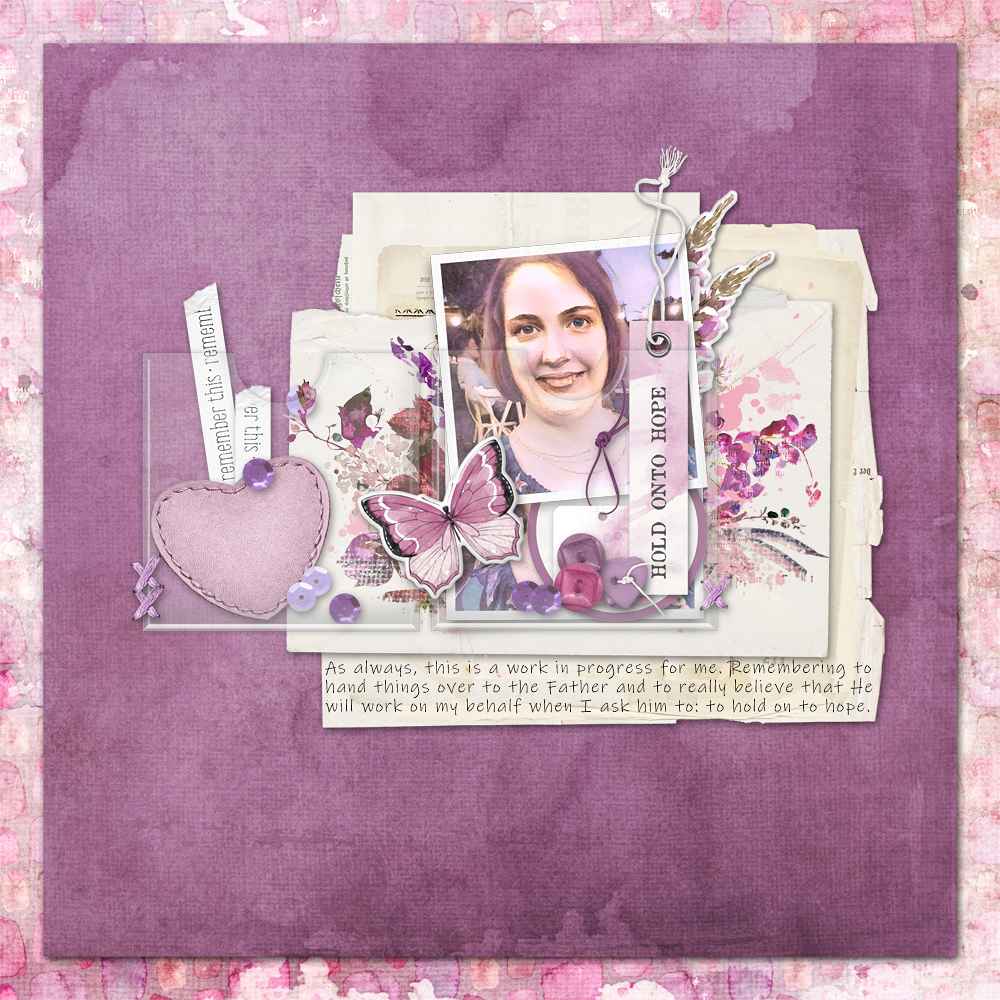
This second layout features a photo someone took of Claire at a recent wedding. I like to play with photo filers and when one turned the photo rather purple I was a bit excited to scrap it using the ARToption Mini Mix 11 kit recently released. I placed two negative sleeves together over the top of a stack of ephemera including an envelope. I then used a floral transfer on the envelope to create a background that would show through some of the sleeves. I put the photo in the sleeve and then duplicated it. I ‘pulled’ the duplicate part way out of the sleeve and this created a space to add several tags and elements to the same pocket. Then a few elements in the other pocket and some flossy stitches to hold the sleeves down. Again – a sticker on the top ties the two sleeves together.
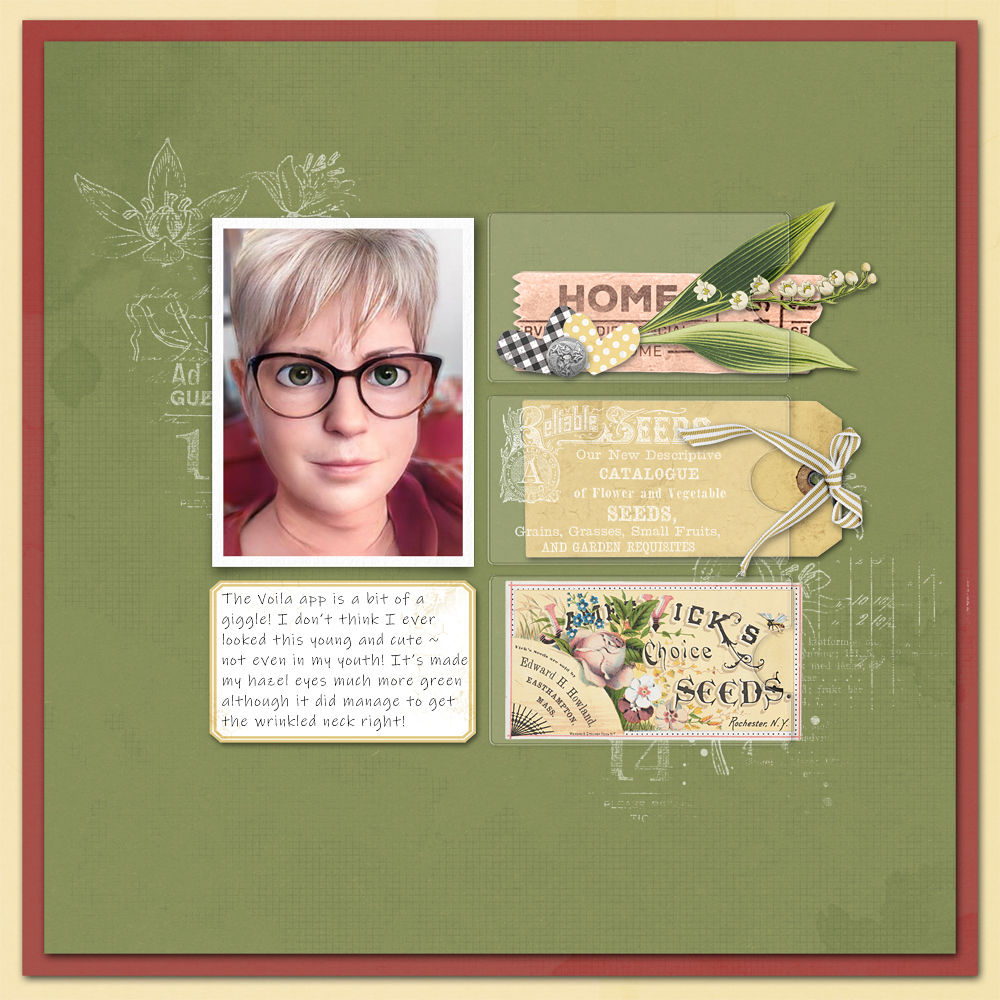
We’ve been having fun playing with the Voila app at our place and I used one of the versions of me in this layout. This time I stacked three of the sleeves, placing them sideways to create a grid arrangement with my photo and journaling label. I filled them with a tag, ephemera and other small elements. I used a stamp from the Vintage Farmhouse Garden Scrapbook Kit on top of the middle sleeve which makes it look ‘printed’. This shows up nicely over the blank tag.
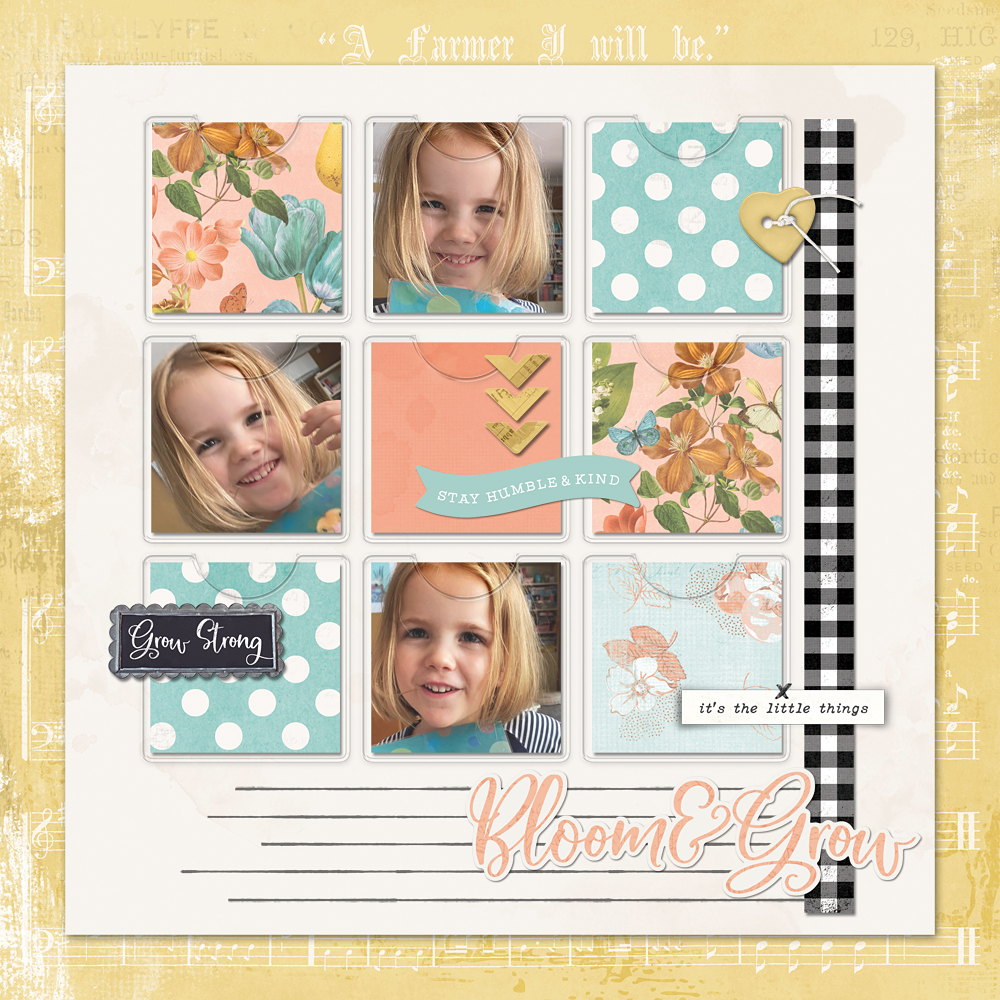
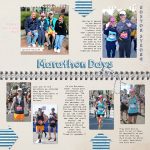
Making a grid using square negative sleeves is a great way to showcase a small series of photos as well as use several beautiful coordinated papers from a favourite Kit. I’ve ‘cut’ all the photos and paper to fit exactly into the sleeves and relied on the addition of several small elements on the top to add interest. A long thin strip of paper fills out the grid and there’s space at the bottom for a title.
I hope you will be inspired to use some negative sleeves on a layout this month. I hope to see your page in the Get Inspired Gallery where I’ll be posting my pages with complete credits. Don’t forget to add your 100% KPD page to the June 2021 Challenges thread in the forums to earn shopping rewards!
Happy Scrapping,
Sharon (Shannamay)
Follow Us