
Get Inspired Challenge: Doodle Do Arrows

Good morning everyone!
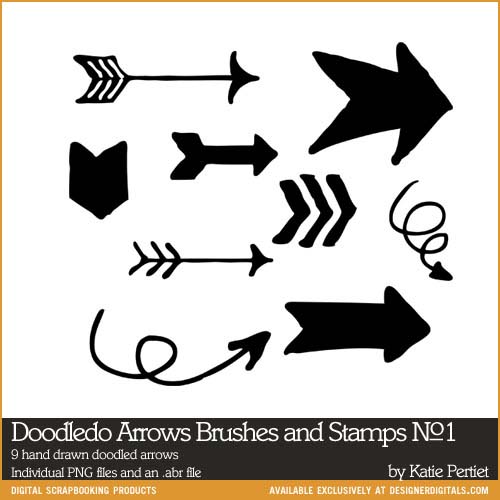
Sharon here, with a new Get Inspired Challenge. I hope I can inspire you to play along this month. There are some scrapbooking elements that never seem to go out of fashion and that we return to over and over again – arrows are certainly one of them I think! They are great for adding direction or movement to a page and there’s a huge variety available in the store. This month we’re going to focus on the three packs of Doodledo arrows we have in the store. As you can see from the following previews, there are thick and thin ones, long and short ones, straight and curved ones; all beautifully hand drawn.
Doodledo Arrows Brushes & Stamps 01
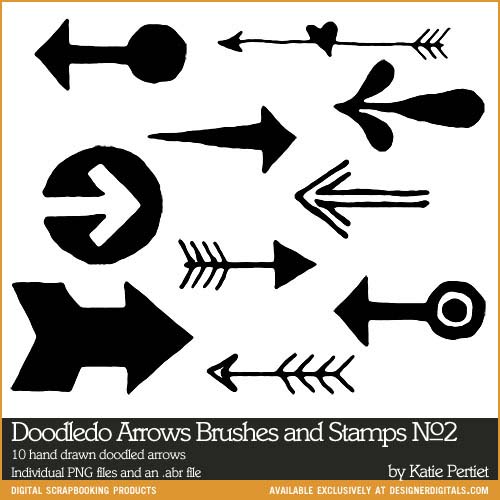
Doodledo Arrows Brushes & Stamps 02
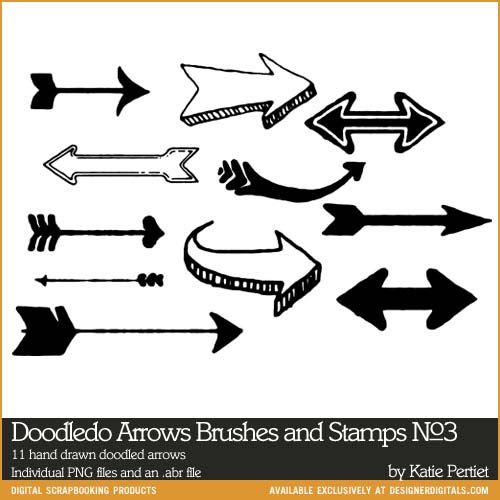
Doodledo Arrows Brushes & Stamps 03
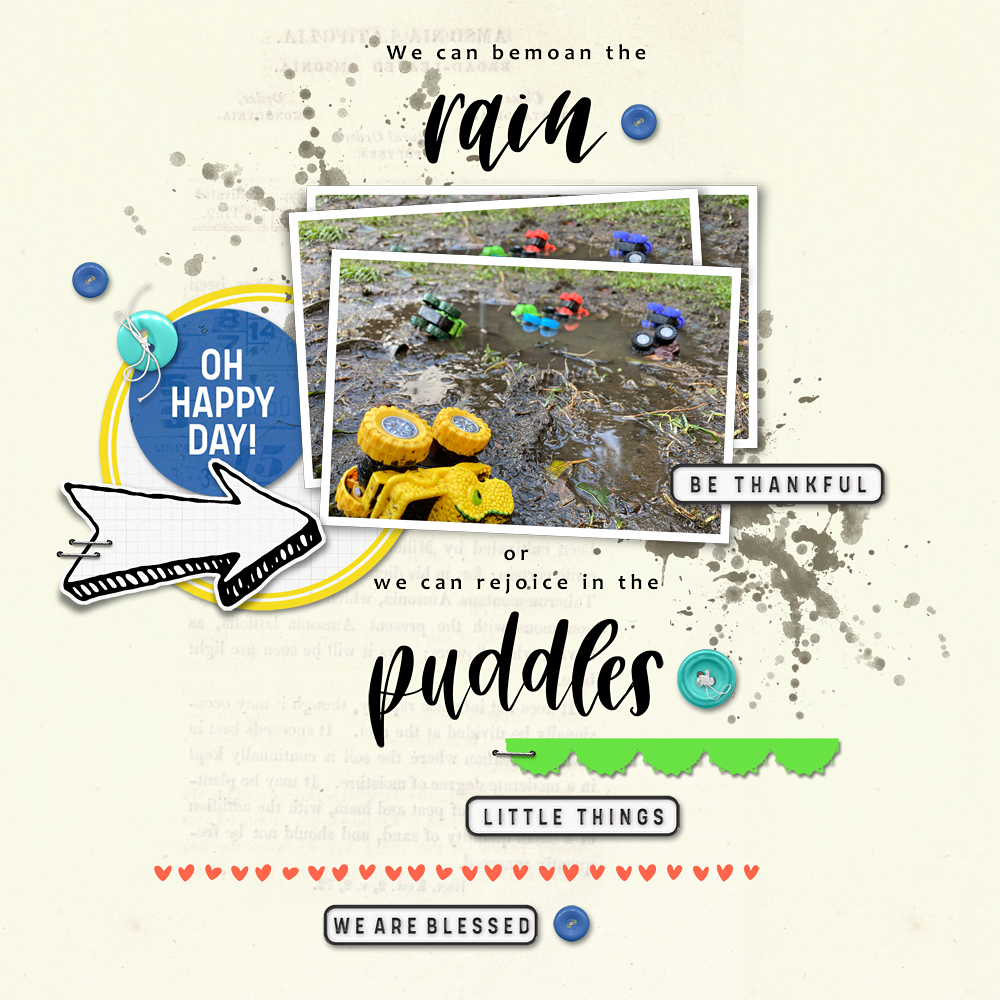
It’s the hand drawn nature of these that draws me to them when I want to make a very ‘paper’ looking layout. This first example is one of those layouts. I used an arrow from the third pack and ‘stapled’ it to my page celebrating puddles.
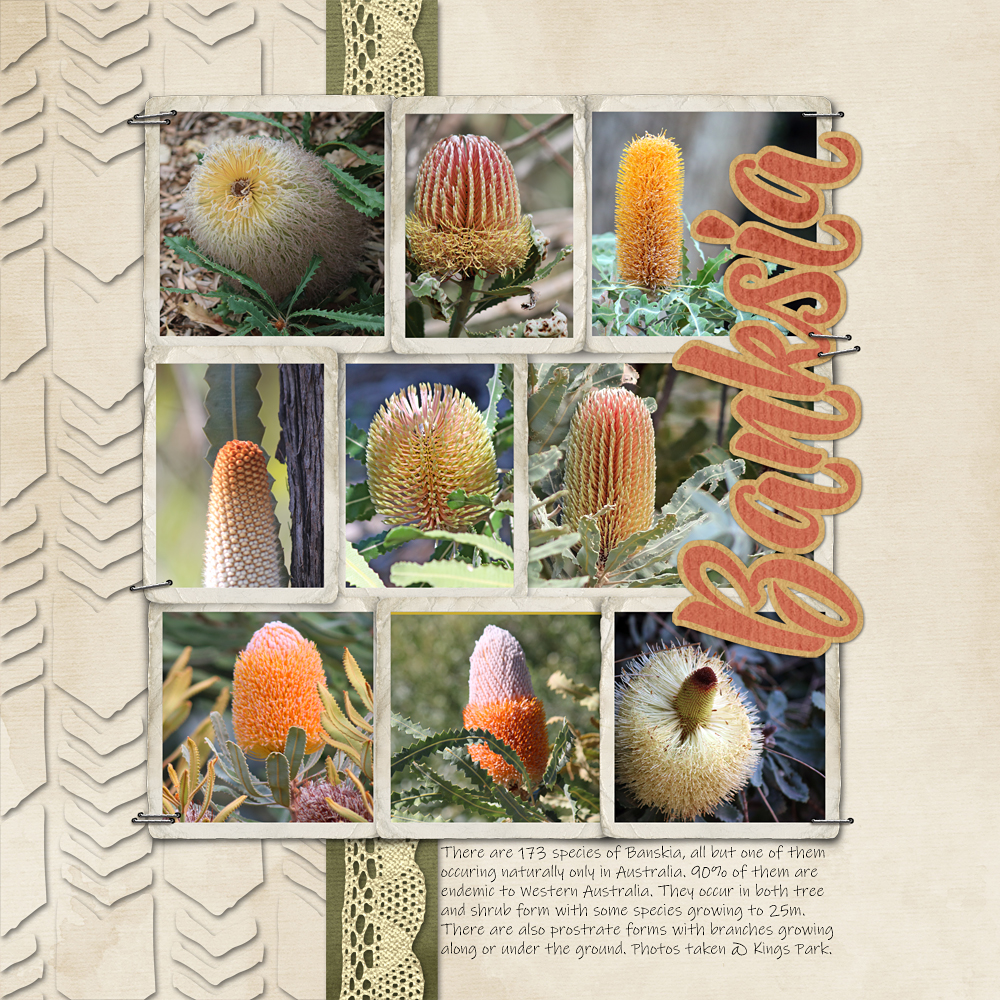
For this next layout I created a textured background. I arranged arrows from the first pack on my background paper, merged them into a single layer and added a shadow. I then duplicated the background paper, moved the duplicate above the arrow layer and clipped it to the arrows.
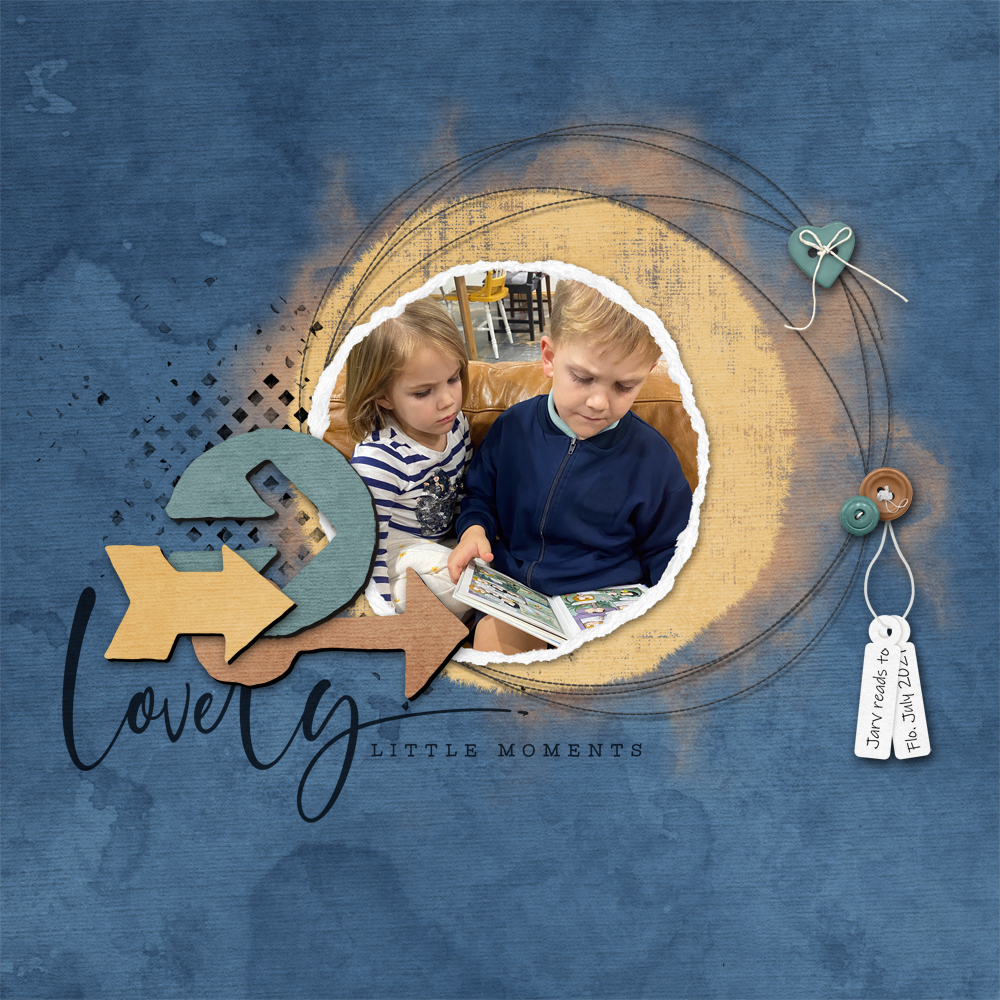
I used arrows from the second pack and arranged them as a cluster linking the title to the photo. I clipped different coloured paper to each one (using papers from the same pack ensures your colours are going to work well together – thank you Katie 🙂 ) I duplicated each arrow and filled the bottom layer of each with black and nudged it to the right a couple of pixels and also a pixel or two downwards to give the look of a chipboard piece. I add a pretty heavy shadow to the top layer of each arrow.
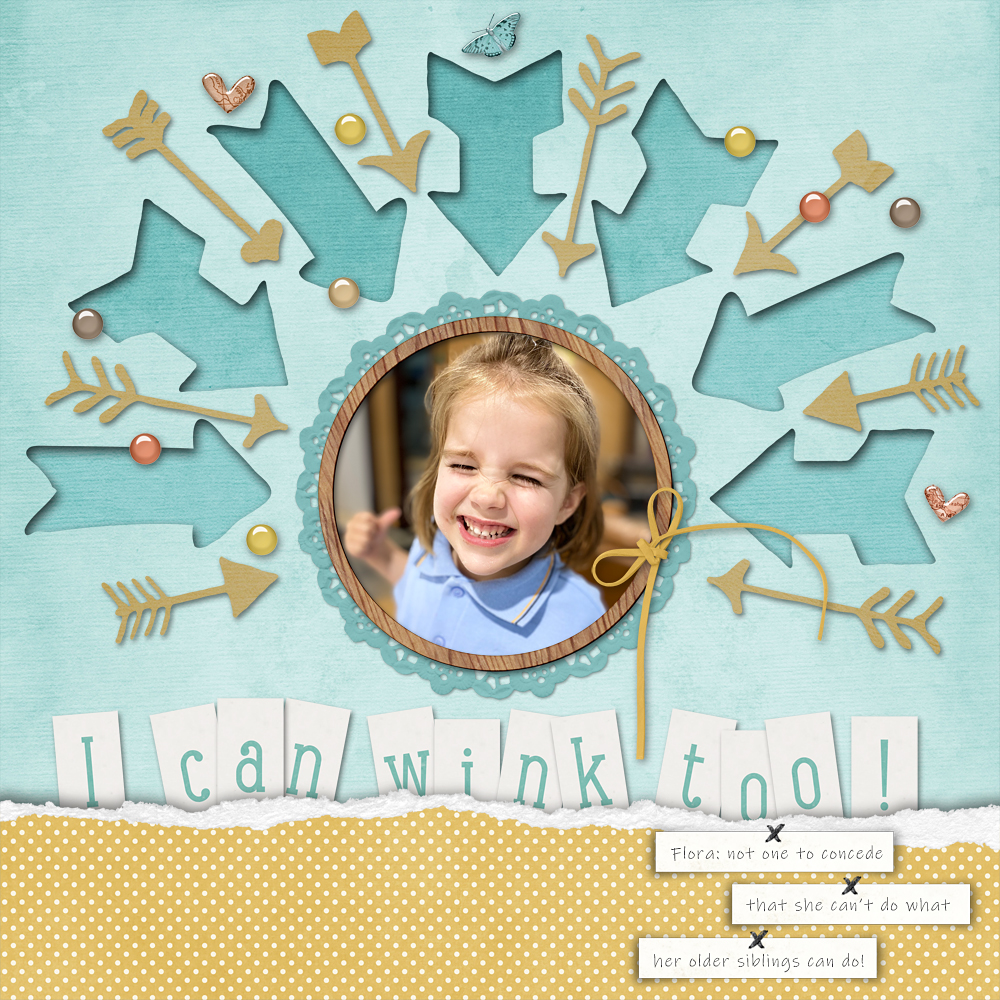
For this last layout, I used arrows from all three packs. I arranged the thicker ones in a semi circle around the photo and then merged them into one layer when I was happy. I placed my two background papers under the arrow layer. I ctl-clicked on the thumbnail of the arrow layer in the layers panel to create “marching ants” around the arrow shapes. Then, with my top paper layer selected in the layers panel, I hit delete to ‘cut out’ the shapes from the top paper. A shadow can then be added to the cutout layer. The arrow layer can then be hidden or deleted as you wish. I arranged the skinny arrows in between the cutouts and merged into a single layer before clipping a coloured paper to them.
These packs were released back in 2012, but if you don’t have them in your stash – keep an eye on the Thrifty Thursday Sale this week 😉
I hope you can have as much fun as I have – and I encourage you to check out the example layouts that accompany these packs in the store for even more ideas (I love these arrows in a grey/white to imitate chalk on chalkboard paper!) My layouts with full credits will be in the Get Inspired Gallery and I hope to see your page there too!
Don’t forget to add your 100% KPD page in the September Challenge Participation Sign-in thread in the forums to earn store rewards.
Happy scrapping everyone,
Have a blessed September,
Sharon (Shannamay)


Follow Us