
Saturday Scraplift: Top to Bottom Design

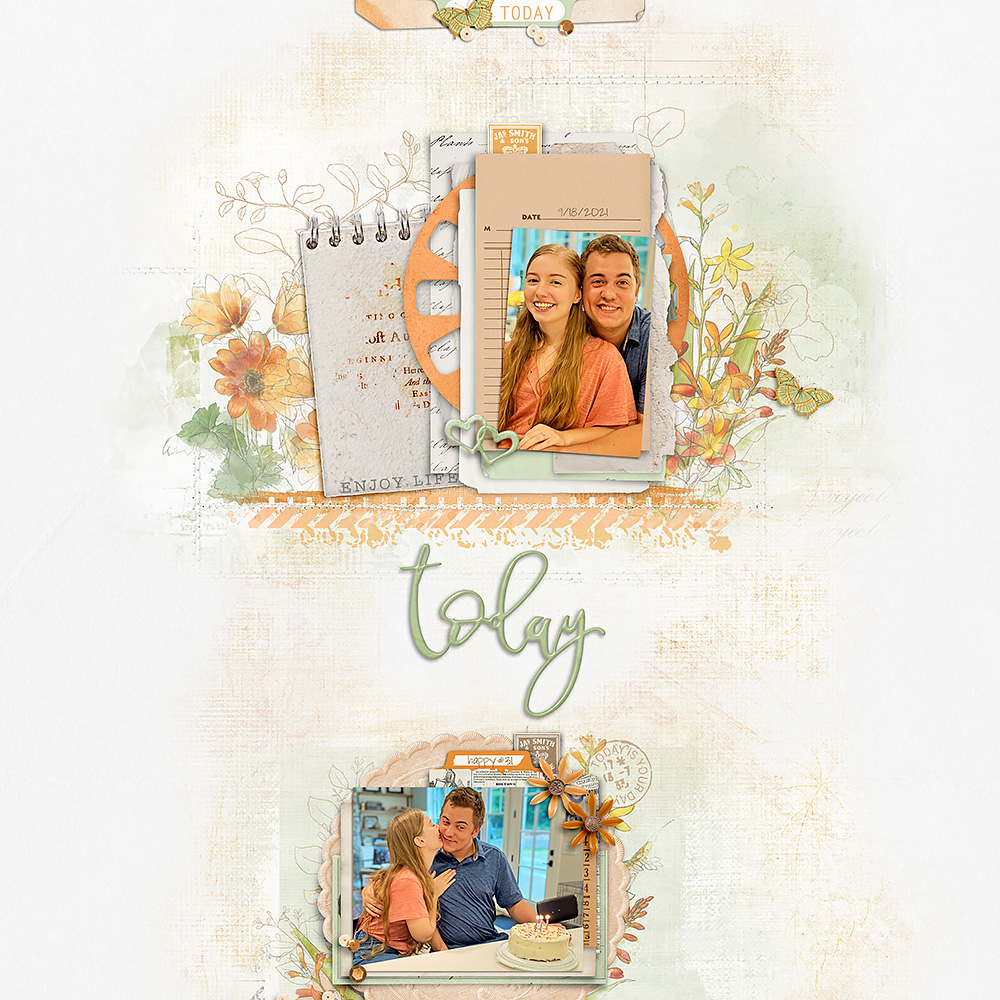
One thing I love about scrapbooking is how much it has taught me about design. Now I’m certainly no expert, but I do enjoy learning about principles of design that help me create a page that pleases the eye. And well-designed pages catch my attention in the gallery just as Amy’s (Amy L) did. Normally, even numbers in design are a no-no, but notice how Amy makes her top photo the focus of her page by amping up the layering and brush work beneath it. Her costar photo captures a delightfully candid moment at her son’s birthday celebration. The whole page is just perfection, IMHO. Addie and Liz, two of my fellow Creative Team members, joined me in taking inspiration from Amy’s page. It’s interesting to see where we went with our pages.
Amy’s page:
Addie (agoymerac) adhered closely to Amy’s design, using cute photos of her cats Leonard and Tuck. (I adore people names for pets, so I’m a big fan of Leonard — 😉! And I’m guessing Tuck is short for Tucker.) A smart design choice that Addie made was to pull the colors of her paper and accents from the colors in her photos. That decision makes for such a coherent and pleasing page. And Addie, that bottom photo makes me smile, too.
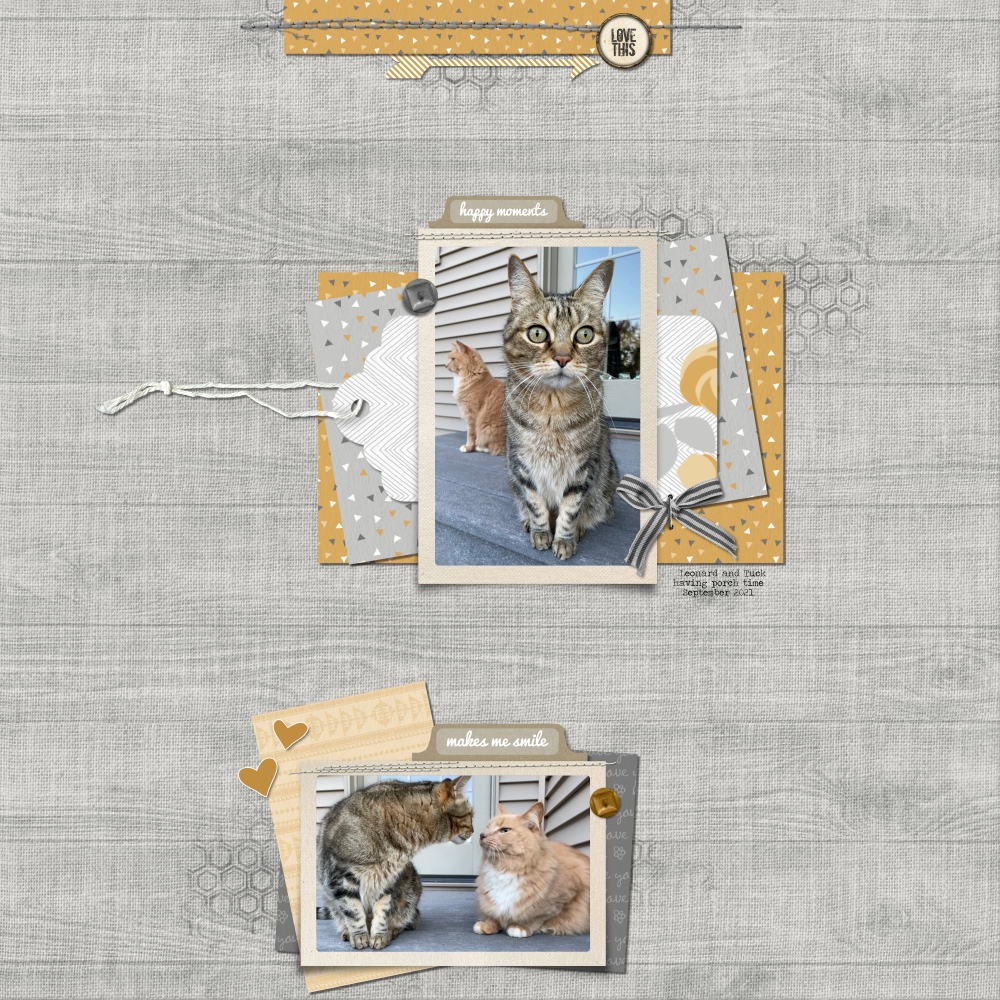
Credits: Misty Meadows Textures Paper Pack; Sacked Solids Paper Pack 02; Stitched Up Frames 04; Life Lines Complete Scrapbooking Collection; Letter Box Clusters Brushes and Stamps 02
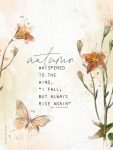
Liz (lizziet5) scrapped some fun shots of her daughter and grandson and clustered them in the center of her page – a great trick for controlling the eye of the viewer. She used her brush work masterfully to ground her design, and I love how she introduced bits of color and pattern in the frames behind her photos. If you love patterned paper but have a hard time using it, try including it in small doses as Liz did here.
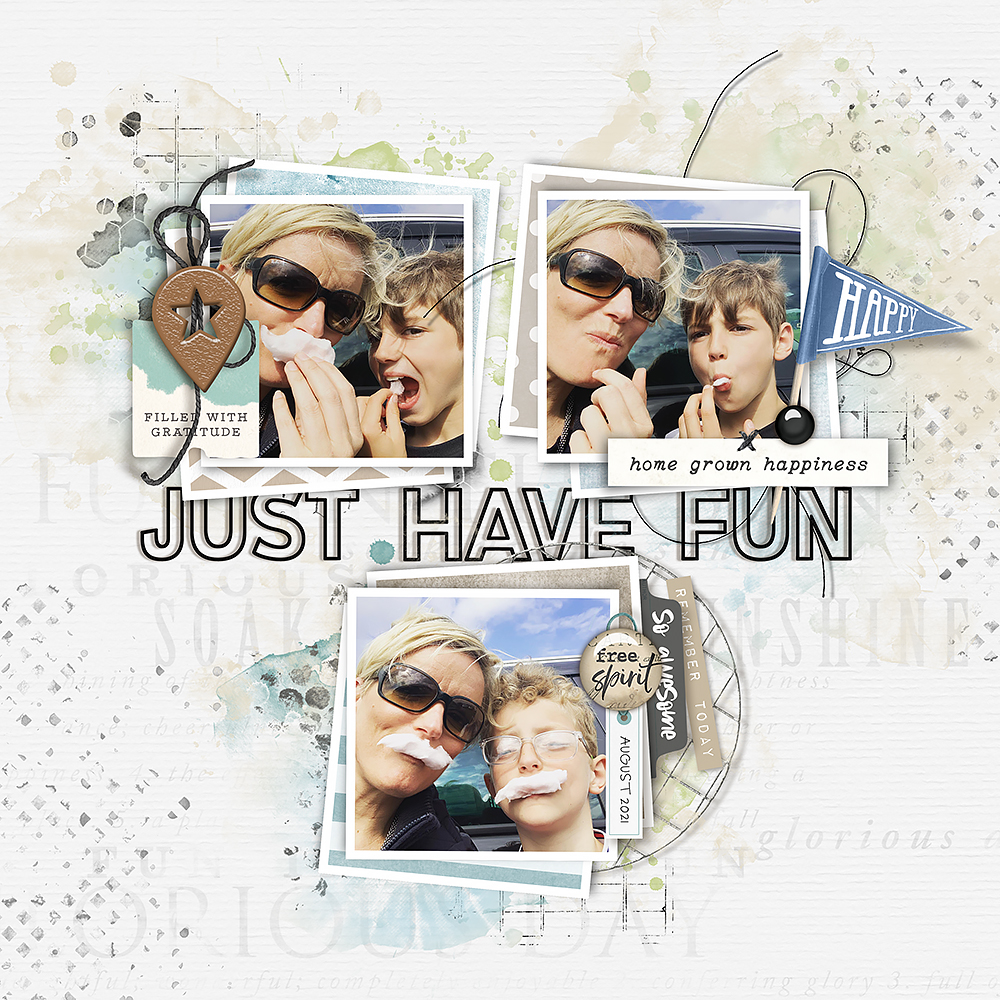
Credits: Classic Frame Layers 01; Layering Sentiments Stack Pack 03; Adventuring Plastics; ARToptions Mini Mix 14; ARToptions Mini Mix 17; Botanical Notebook 01 Element Pack; Chicken Wire Clusters Stamp Pack 01; Cottage Fields Sticker Sheet 02; Garden Trails Element Pack; Golden Pretty Element Pack; Lemon Twist Flairs 01; Monthly Memories Vol. 02: Foundations 09; Nature Study Blendable Layers; Painted Patterns Stamp Pack 04; Simply Patterned Super Pak 01; Spring Meadows Element Pack; Vintage Artistry Essentials Paper Pack; Vintage Artistry Sky Flairs; Vintage Farmhouse Garden Element Pack; Vintage Farmhouse Garden Element Mix; Watery Typecast Sentiments Brushes and Stamps 02; Winter Whites Dots and Stripes Paper Pack; Wire Frame Grid Panels 02; Just Like Spring Solids Paper Pack; Readymade Layers: Fall Clusters 01; Readymade Layers: Botanical Clusters 32
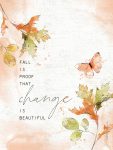
I used some garden pictures because I wanted to play with Katie’s new Vintage Artistry In the Leaves collection – it’s not just for fall anymore! I drew attention to the centered design by adding a column of paper behind my photos. That allowed me to position my brush work and accents on top and beneath the paper to give a sense of dimension.
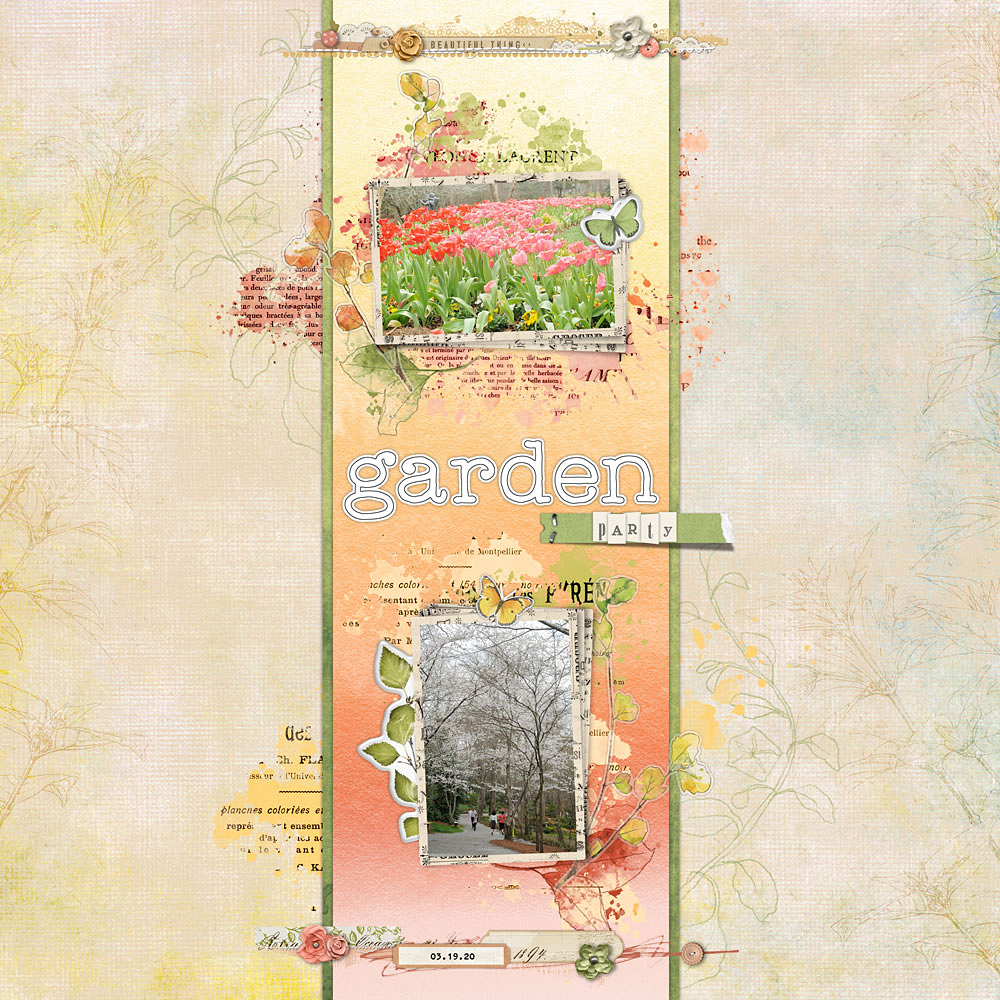
Credits: Vintage Artistry In the Leaves Solids Paper Pack; Botanical Overlays 03; Pencil Line Leaves Brushes and Stamps 18; Vintage Artistry In the Leaves Text Splashes; Vintage Artistry In the Leaves Sentiment Transfers; Ombre Essentials Paper Pack 05; Vintage Artistry In the Leaves Transfers 01; Vintage Artistry In the Leaves Vellum Leaves; Vintage Artistry In the Leaves Epoxy Stickers; Vintage Artistry In the Leaves Ephemera Value Pack; Readymade Borders: Spring 02; All My Love Element Pack; Krafty Journal Spots 02; Autumn Winds Element Pack; Minted Wings Element Pack; Drop Shadow Styles 02
It was so much fun to work with Amy’s creative design – I hope you’ll join us and be inspired to scrap your own page. Remember to post your lift in the Saturday Scraplift Challenge Gallery as well as in the October Challenge Participation Sign-in thread in the forum. Happy scrapping!
Follow Us