
Paper Pumpkin Play – Challenge of the Month
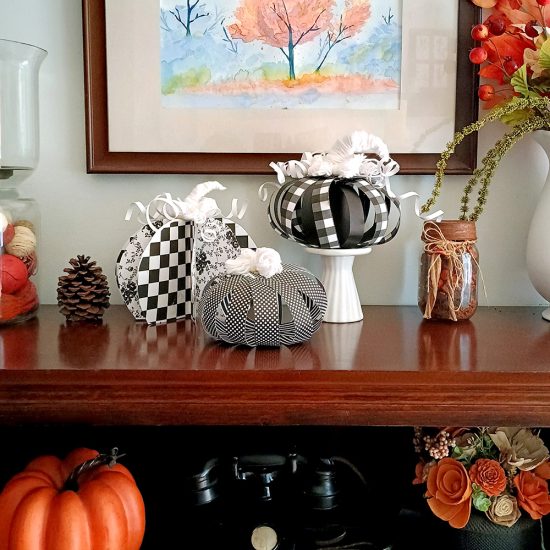
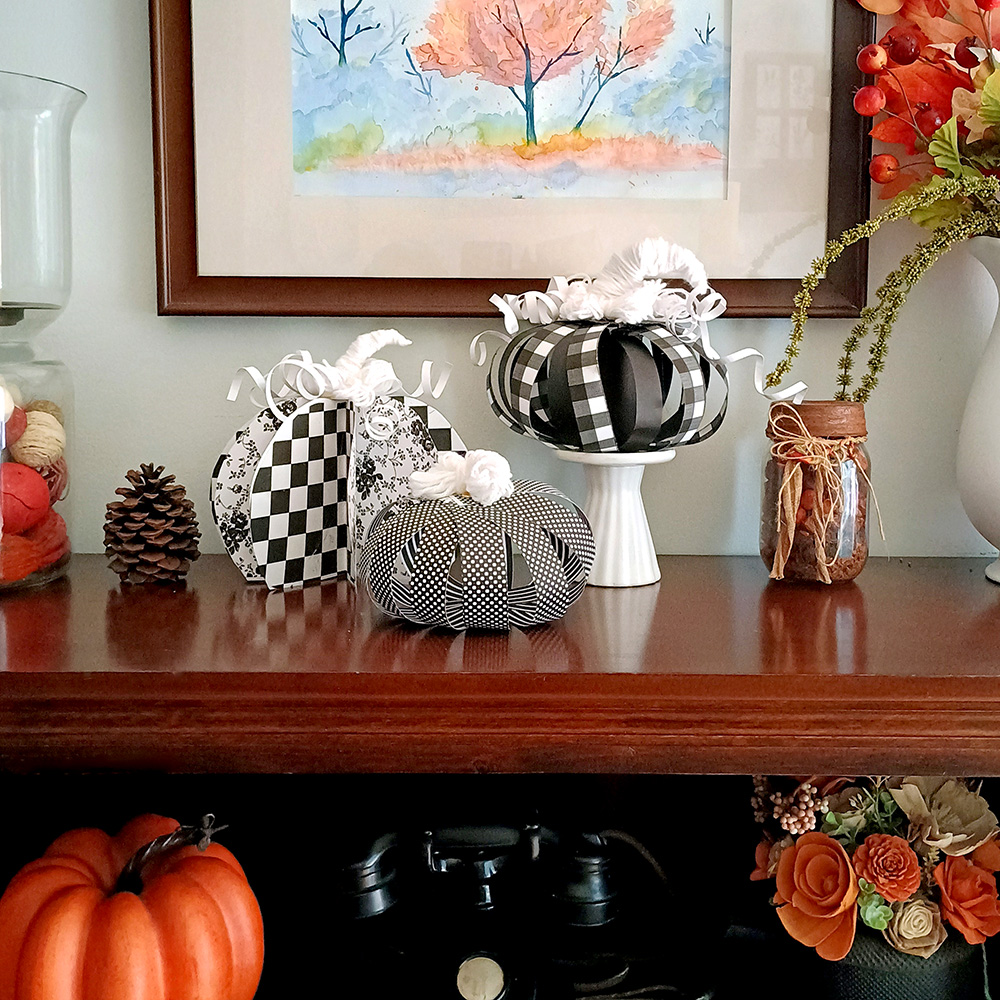 Hello everyone! Kathy (blackkathy) here for another exciting installment of the “Challenge of the Month” Challenge. This month, I really wanted to play with some paper, and Katie has an abundance of gorgeous papers to use. I did a lot of Pinterest perusing and saw all the paper pumpkins and tutorials that had populated my feed and thought that this would be a fun project to share. I based mine on the “Mackenzie Childs theme” of black and white.
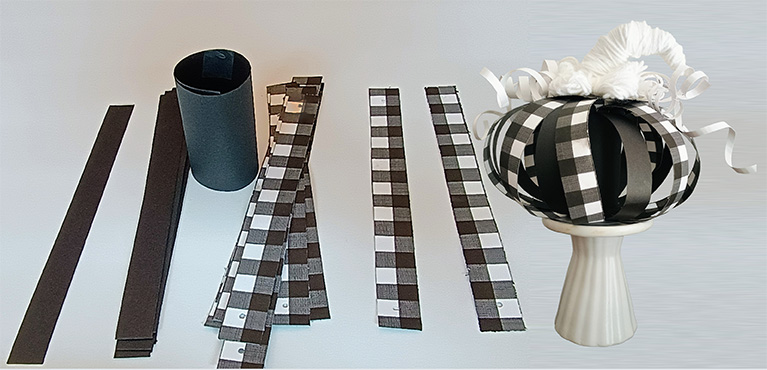
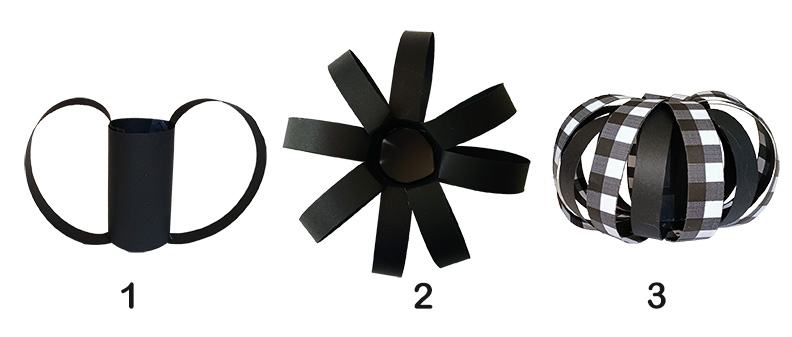
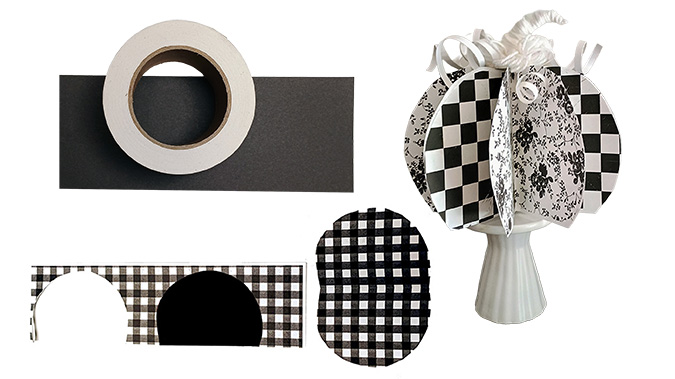
For the first pumpkin, you will need two letter sized printed cardstock and printed on both sides if you do not want any white to show. Cut into one inch strips, creating about 11 strips per page. Make a round cylinder with matching cardstock right around four or four and a half inches high with a circumference of one and a half inches. You can also use a toilet paper holder and cover it. You will take your strips and start gluing them in the tube, first with one color al the way around and then the second color. Like so.
White yarn was wrapped around some twisted paper and some yarn was glued on the top of the pumpkin. The tendrils were simply made out of white cardstock wrapped around a pencil and then applied to the pumpkin.
Supplies used: October 31st. Paper Pack 2
My second pumpkin masterpiece was created by stacking chopped off circles, folded with wrong sides out and gluing the wrong sides together to the next pumpkin piece. You will place the straight edge of the chopped circle, which is your template, on the folded edge of the paper and trace and cut. Use as many as you would like, the more layers there are, the fuller the pumpkin. When you are finished gluing together your different layers, then you glue the first layer to the last layer, creating a circle. You may use as many different patterns as possible that you want or not, just have fun and let your imagination go wild!
Supplies used: Farm Style Paper Pack 1, Clementine Paper Pack
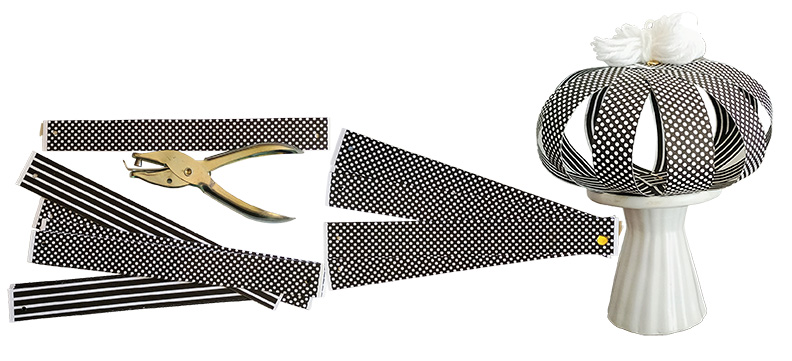
The last pumpkin is the easiest, simplest and quickest. Take one sheet of printed cardstock, printed on both sides and cut into 11 strips. Punch a hole in the top and bottom and then thread the paper strips onto a paper brad, first one side and then the other. Fan them out as best you can so they lay relatively even.
Supplies used: October 31st Paper 1
Here are some in more traditional pumpkin colors.
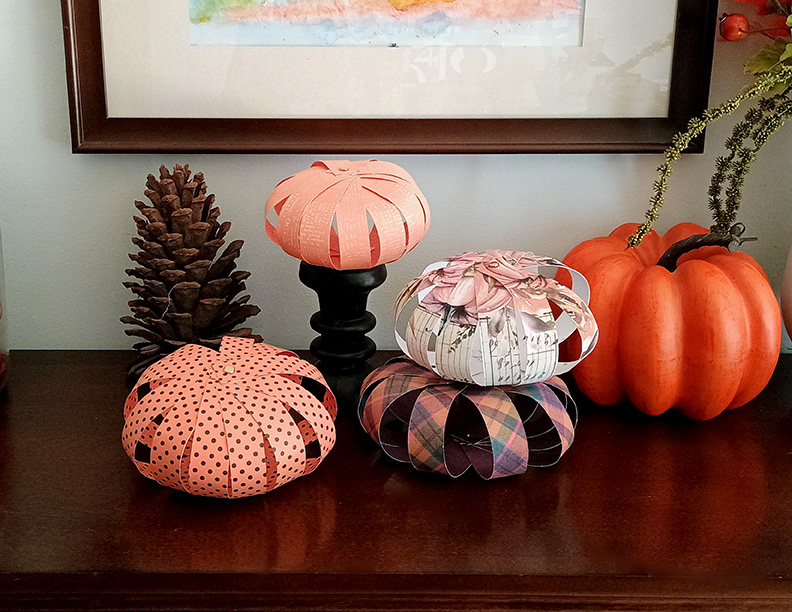
Supplies used: October 31st paper
ARToptions Spice Paper 1, ARToptions Spice Paper 2
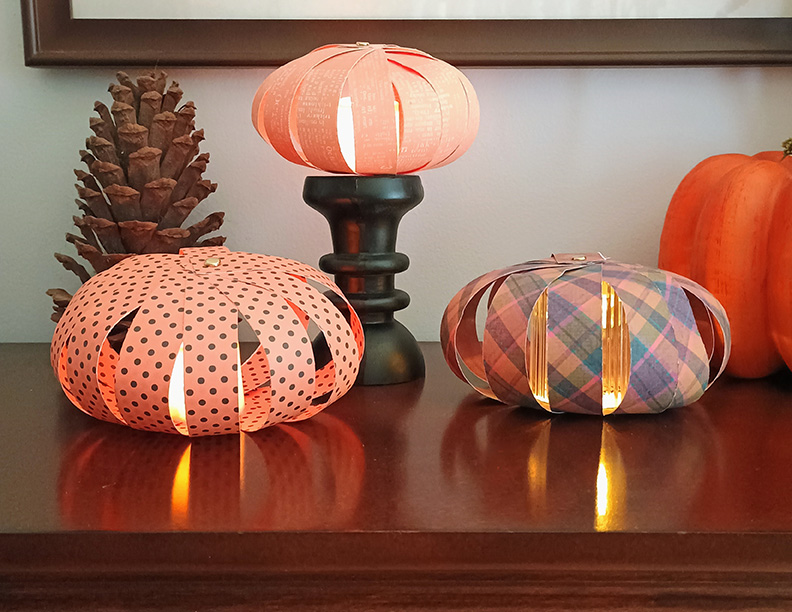
And here they are with some battery-operated tea lights.
I hope I have inspired you to create some pumpkins for the upcoming fall season, which is my favorite season of them all. It has been hot and muggy here in Maine, as it has throughout the world and for me, I am happy to see it dwindle down. I yearn for those crisp mornings that motivate me more than any other time of year and I still shiver with delight with that “back to school” feeling even though my youngest child is now 46 years old. That never goes away! I would love to see what your creative minds come up with so please remember to share them in the Challenge of the Month Gallery and the Challenge Participation for August thread. If you have any questions, please feel free to message me at Katie Pertiet under blackkathy.


Follow Us