
Get Inspired Challenge: Word Bit Brads
Good morning everyone!
I thought that this month we would look at Katie’s Word Bit Brads.
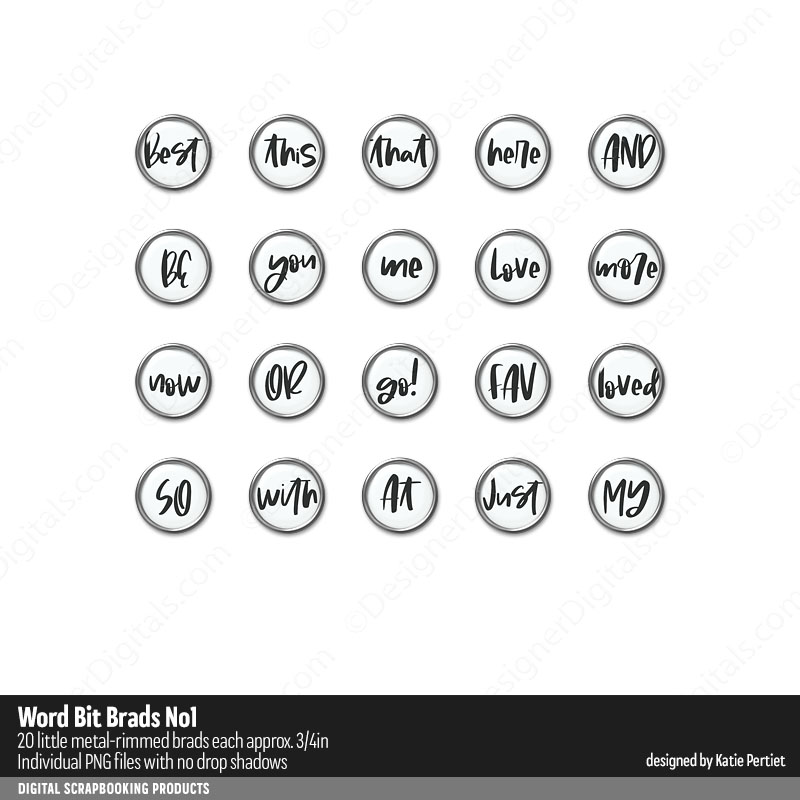
Straight out of the pack, these babies are about the size of a flair. The wonder of digital (of course), is that they can be reduced or made a little larger if that is what you choose or need to do. I hope we can show off their versatility today!
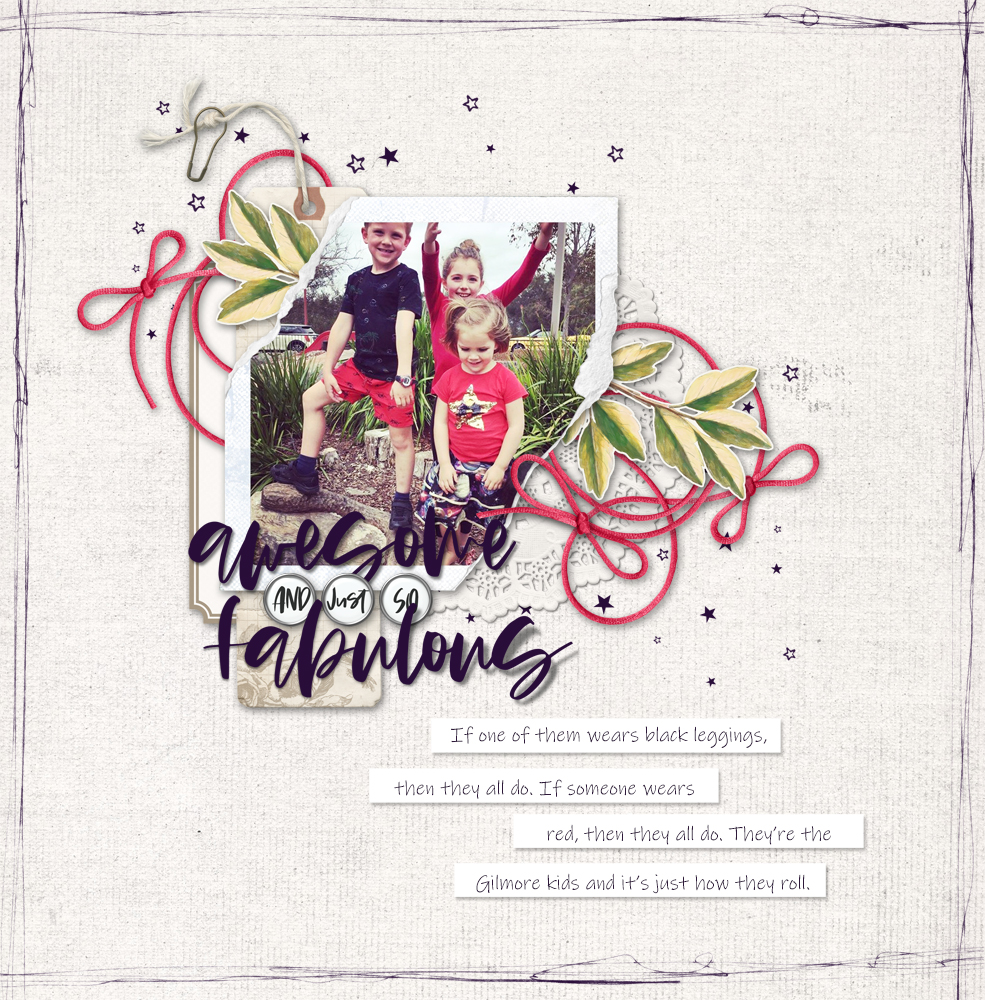
In my first example I have left them at flair size, and used them to complete a title using two words from the Typed + Scripted No. 14 stamp pack.
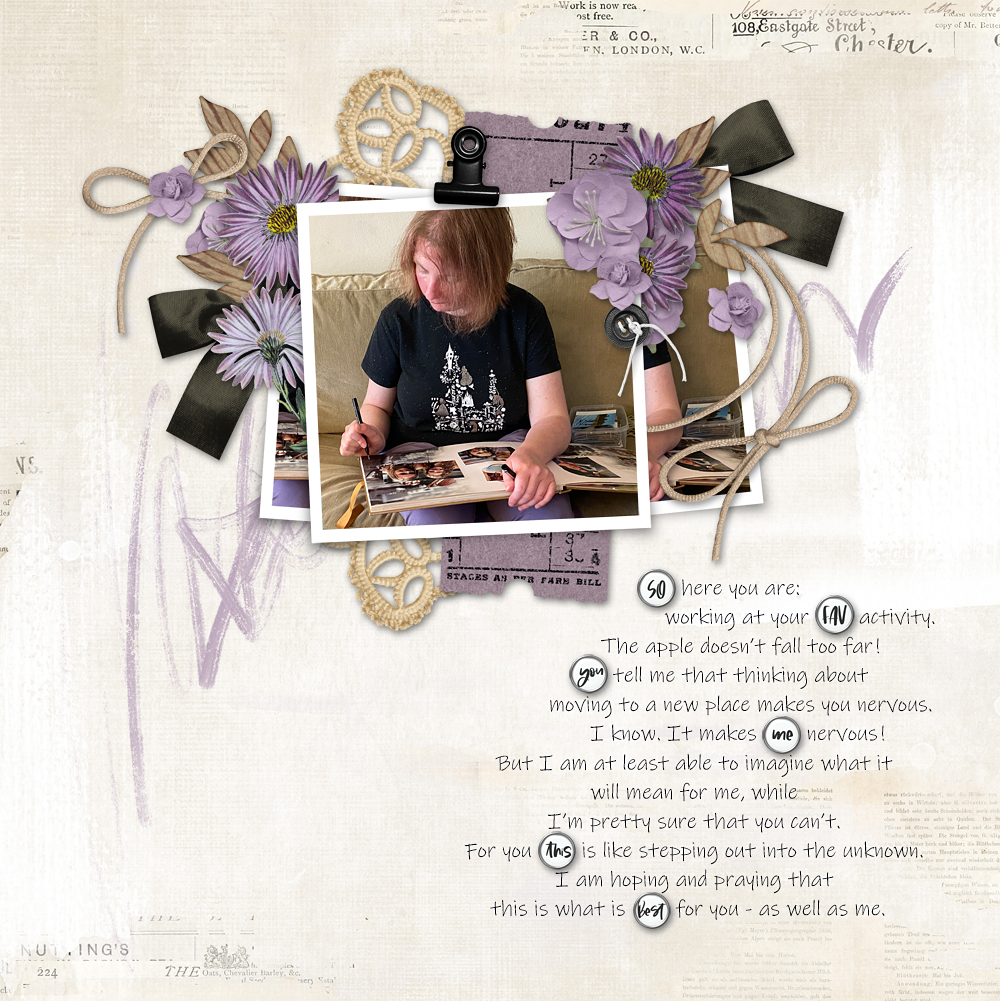
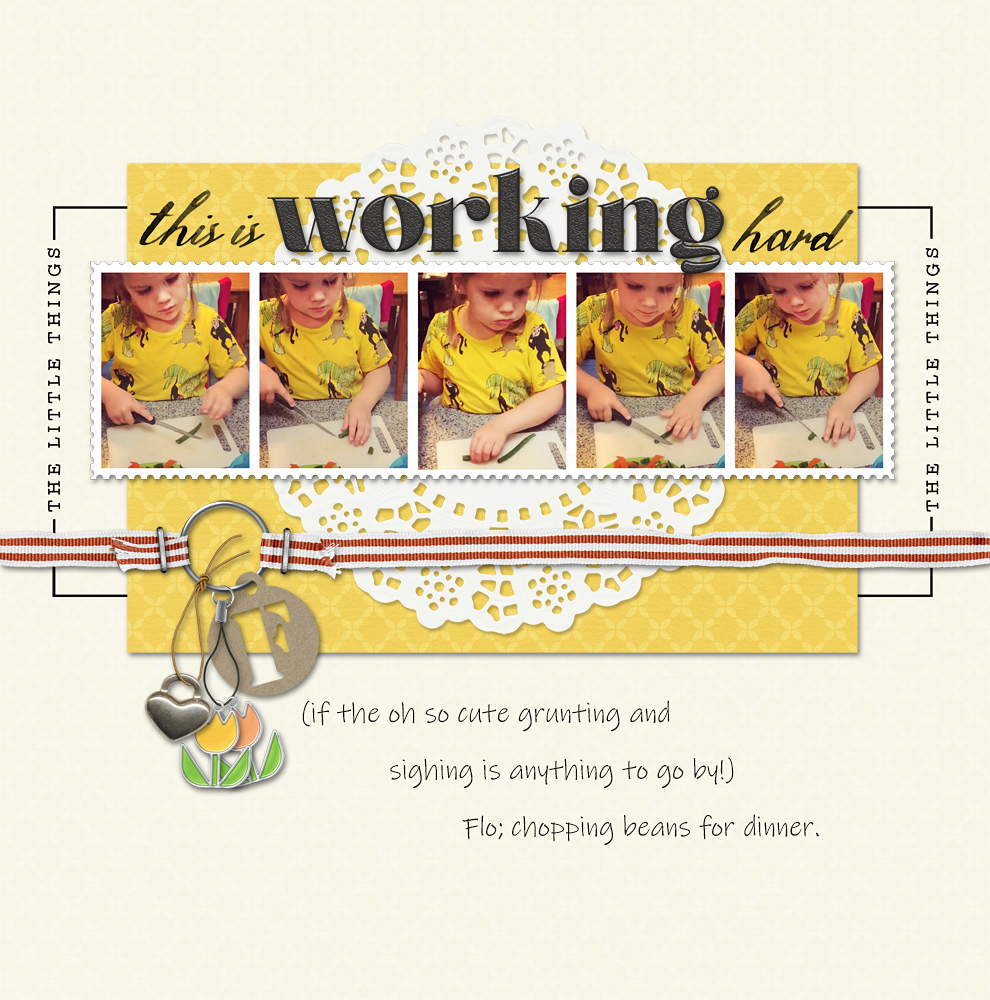
In my second example, I’ve shrunk the brads down to . . . well . . . brad size and used them in the body of my journaling.
Probably the most fun I have when scrapping is when I get time to play with Katie’s wonderful designs. I really like the metal edges to these brads and wondered if I could erase the white section together with the text and just leave the metal rings behind. Turns out it’s not that tricky! I zoomed right in and using the elliptical marquee tool, I ‘cut out’ the circle from the centre of the brad and deleted it. You could also erase the text and then use the magic wand inside the ring, but this way worked better for me. I then duplicated and resized the rings to create the look on this layout, ‘knotting’ a piece of ribbon from the Monarchy Kit around one of them.
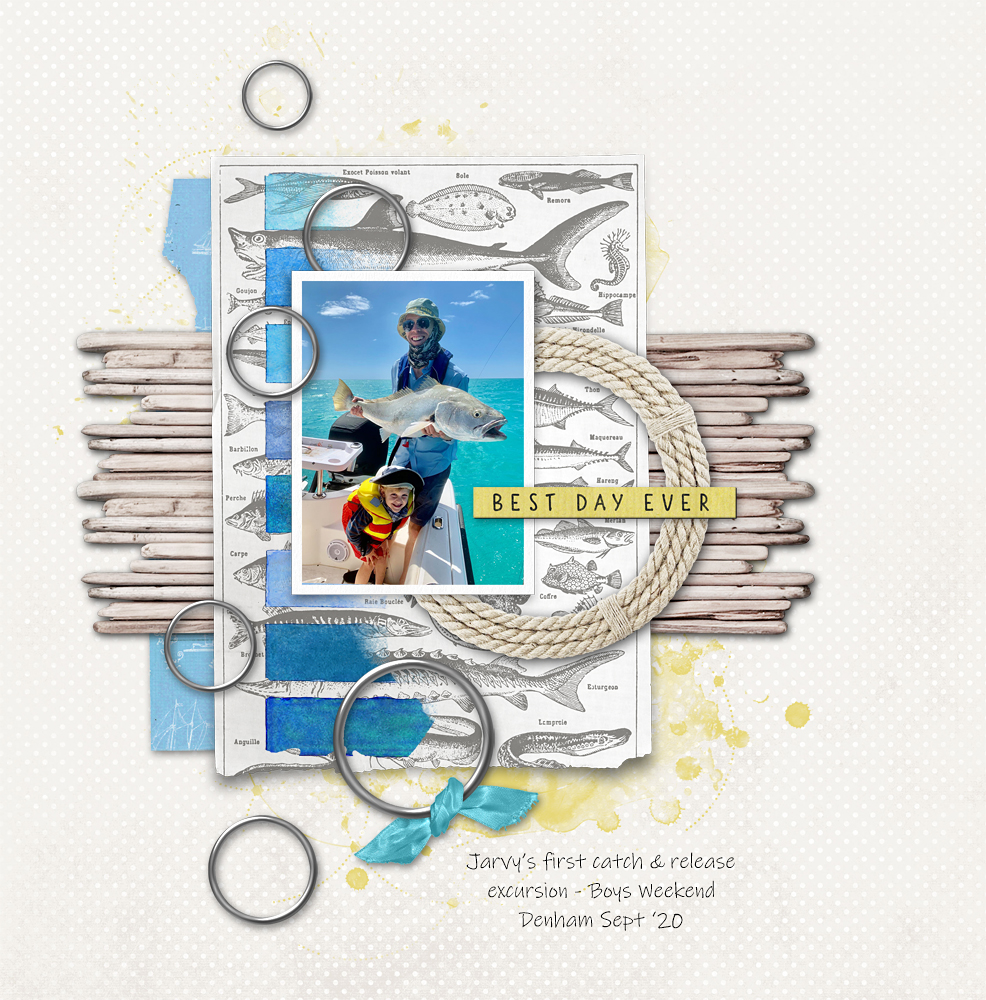
I used the metal ring on my last layout too. This time I attached it to my page with ribbon. I used the rectangular marquee tool to cut off the frayed edge of the ribbon from the Garden Stories Kit. Then I used the rotate command to flip the cut off piece horizontally and placed it over the metal ring, angling it slightly. I used the eraser tool to remove any tiny corners that ruined the illusion of ribbon wrapped over the ring. I love the burn tool – I used it here to darken the ribbon just at the outside edge of the ring, and then the dodge tool to just slightly lighten the ribbon where it lies over the ring. This gives, I hope, some dimension to the ribbon rather than it staying ‘flat’. I used a staple to hold down the edge of the ribbon and then repeated the process on the other side of the ring. To finish off the look, I hung several hanging elements from the metal ring.
I hope that you are inspired to have a play with the Word Bit Brads this month! My layouts together with complete credit lists will be in the Get Inspired Challenge Gallery and I hope to see your page there too! Check this week’s sale if you don’t already have these in your stash! Don’t forget to add your 100% KPD product page to the October Challenge Sign-in Thread in the October 2020 Challenges forum to earn shopping rewards!

Follow Us