
Get Inspired Challenge: Banner Safety Tags
Good morning everyone,
Sharon here, with a new Get Inspired challenge for this month.
I thought we’d have a look at ways to use Katie’s Banner Safety Tags 02
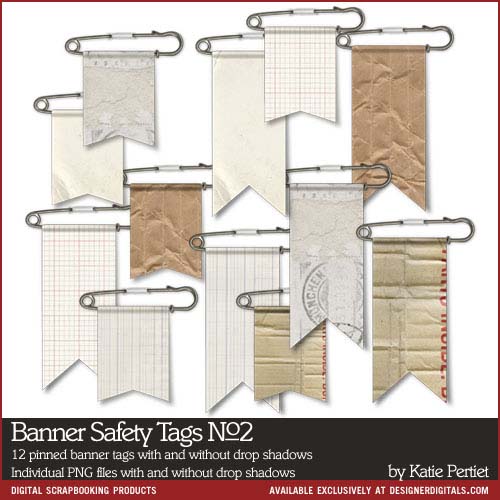
There are several packs of these in the store – some plain and some themed. Over the years since these were first introduced, Katie has also included them as elements in a variety of kits. A simple search in the store for Banner Safety Tags will show you some of the kits you’ll find them in! My favourites are the ones in the ’02’ pack. They are a good size for using in a variety of ways.
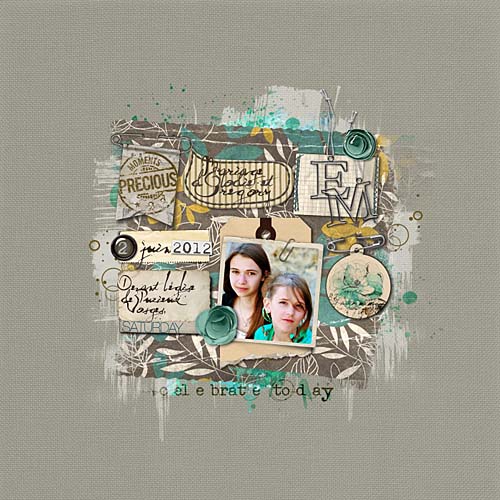
I think I’ve mentioned before that I always like to check out the sample layouts in the store for a particular item I’m using. The Creative Team have used them for:
Journaling
For a date label
And for stamping!
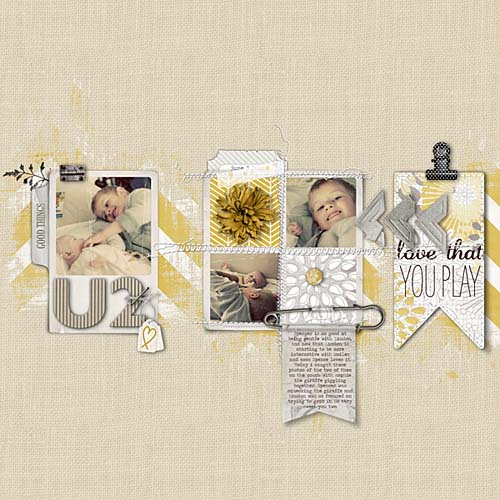
This month I’ve been having a play too and you know whenever there’s a square/rectangular shaped element I just want to make a grid out of it – like this:
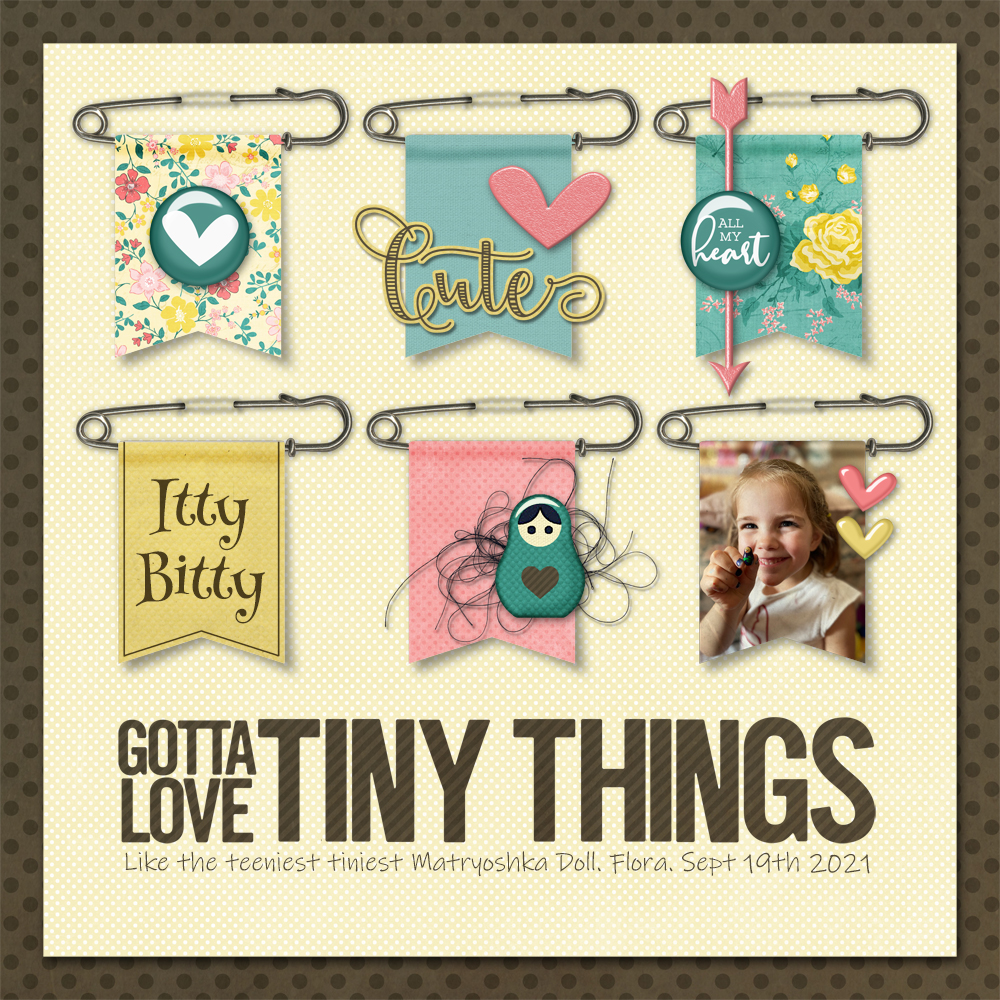
I loaded up all my tags with a variety of embellishments, after I’d clipped patterned paper and my photo to each one. When I do this of course the paper/photo also covers the safety pin. So I then use my rectangular marquee tool to carefully outline the banner. Once I have done that, I inverse the selection, make sure I have the paper/photo layer highlighted in the layers panel and hit delete. Once that’s done you can merge your tag and the clipped layer. I use the burn tool to darken a line along the bottom edge of the pin to complete the illusion. Ummm – don’t look too closely at my little Matryoshka doll that I made out of paper. It’s good enough for my little page but I don’t think I’ll be putting Katie out of work anytime soon – ha! SO glad we get to use the results of her talent!!
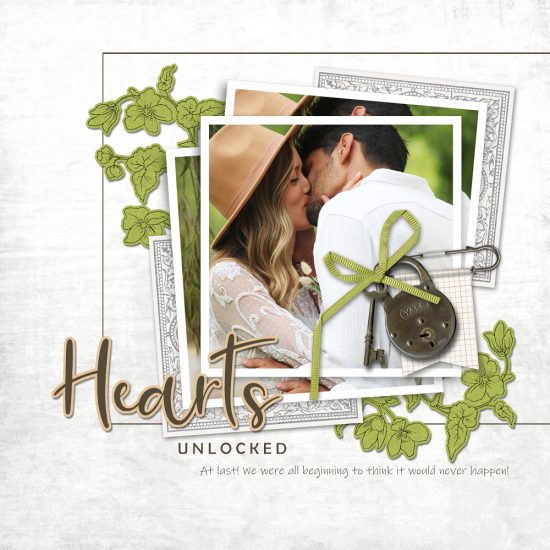
On my next page, I used a narrow ribbon to ‘tie’ a couple of elements to the tag to underline the theme of my page:
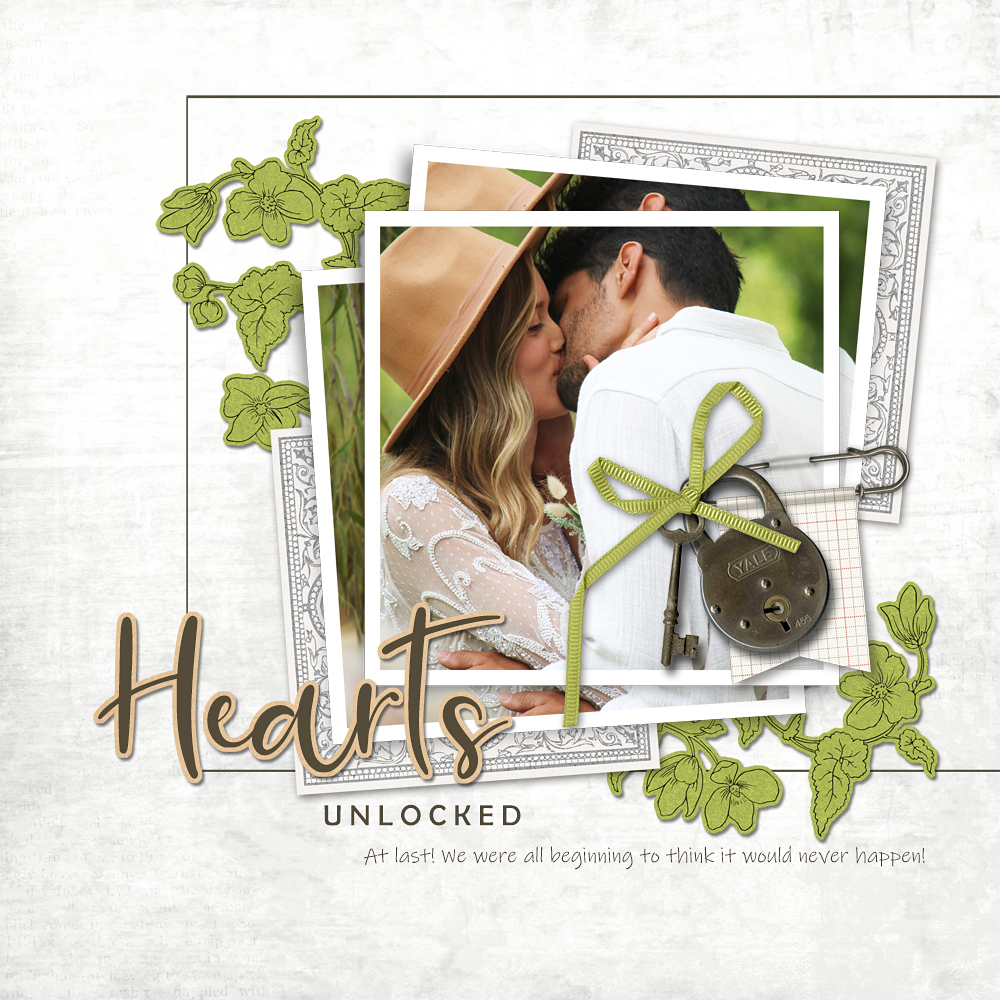
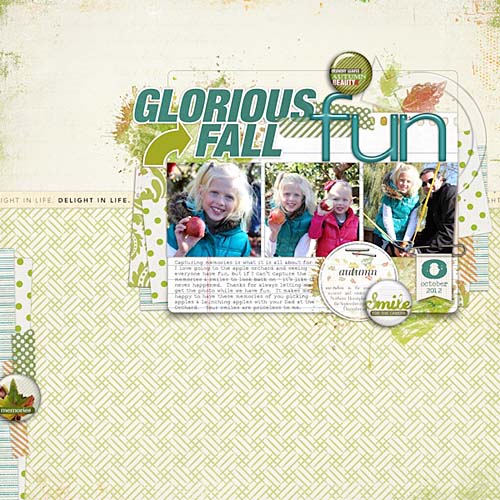
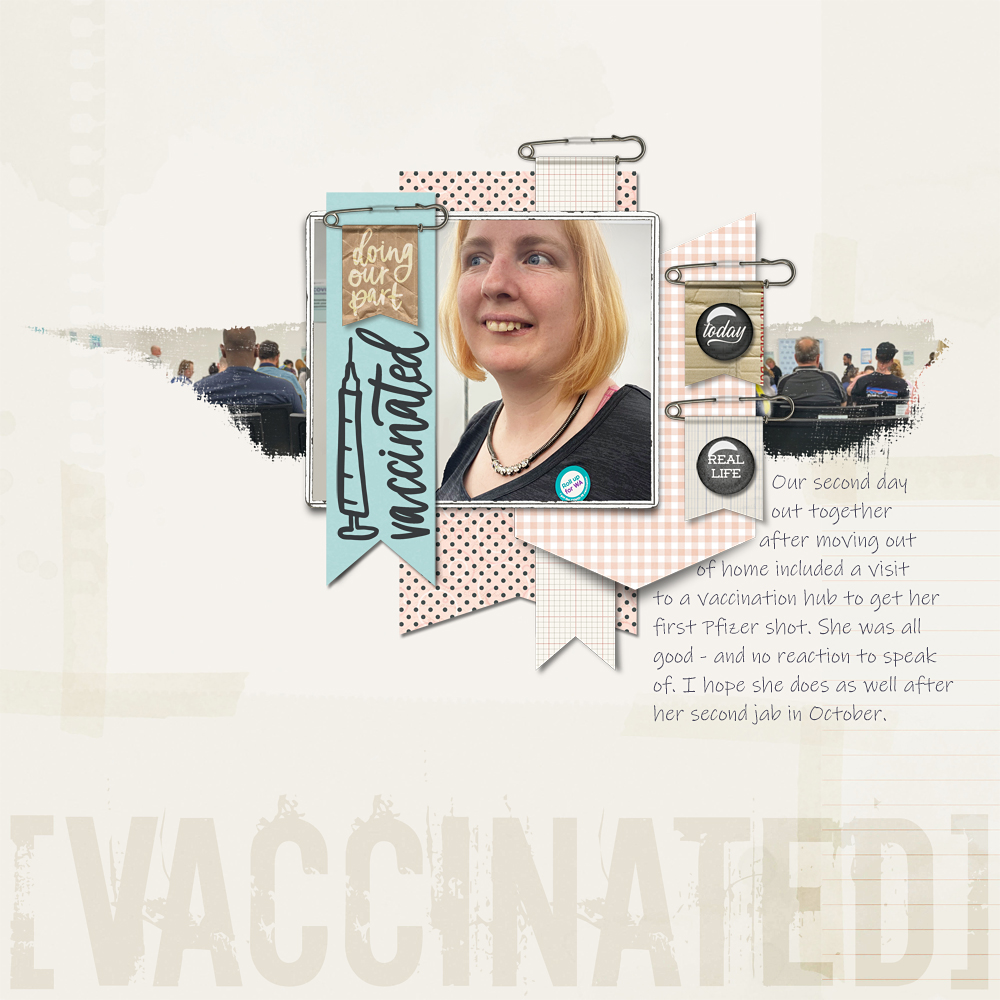
I used a few different tags on this last page, pairing them with Katie’s new Chevron Frame Layers and Flagged Frame Layers
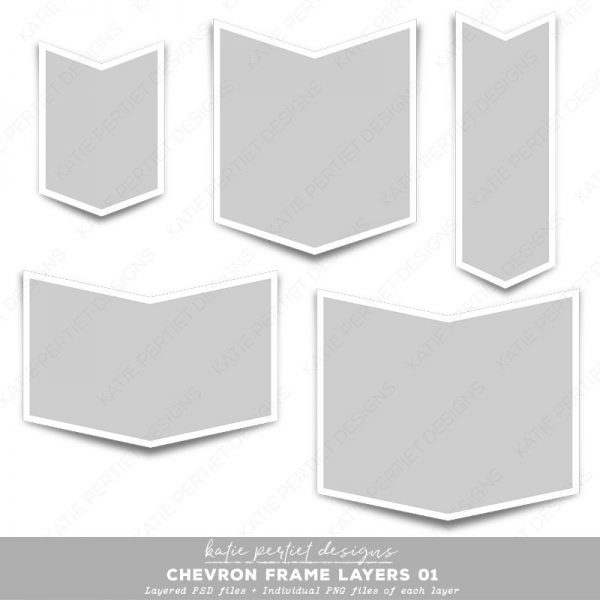
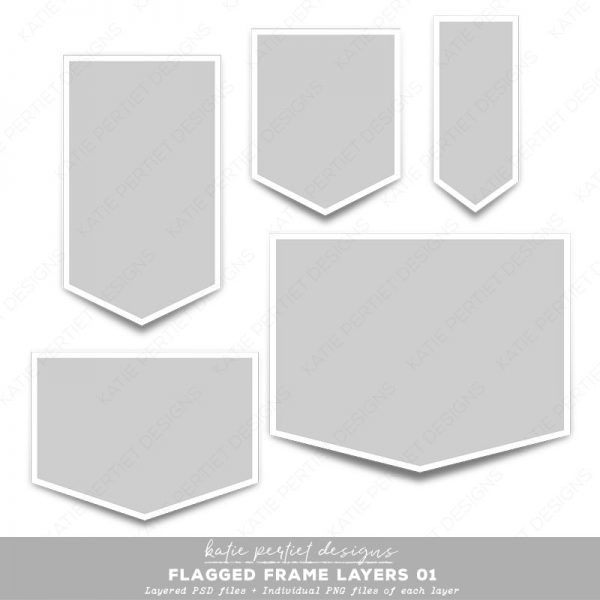
The very cool thing about these packs of frames is that as well as using the frames, you can also just use the clipping mask for the photo and clip paper to it instead! You’ll also notice that I’ve duplicated one of the Banner Safety Tags lying under the photo and moved the duplicate further down the page so it gives the illusion of a much longer Banner Safety Tag. (Also happy to report that Claire’s second jab happened today and everything went well – double dosed at last!)
I hoe we’ve given you a few ideas – enough to inspire some play with these great little elements. My pages with full credits will be in the Get Inspired Gallery where I hope you will join me!
If you happen not to have any Banner Safety Tags in your stash, don’t forget to check out the Sale this week 😉
If you add your 100% KPD page to the October Challenge Participation Thread in the forums, you can earn shopping rewards!
Happy Scrapping everyone!


Follow Us