
Challenge of the Month – Creating Digital Mixed Media

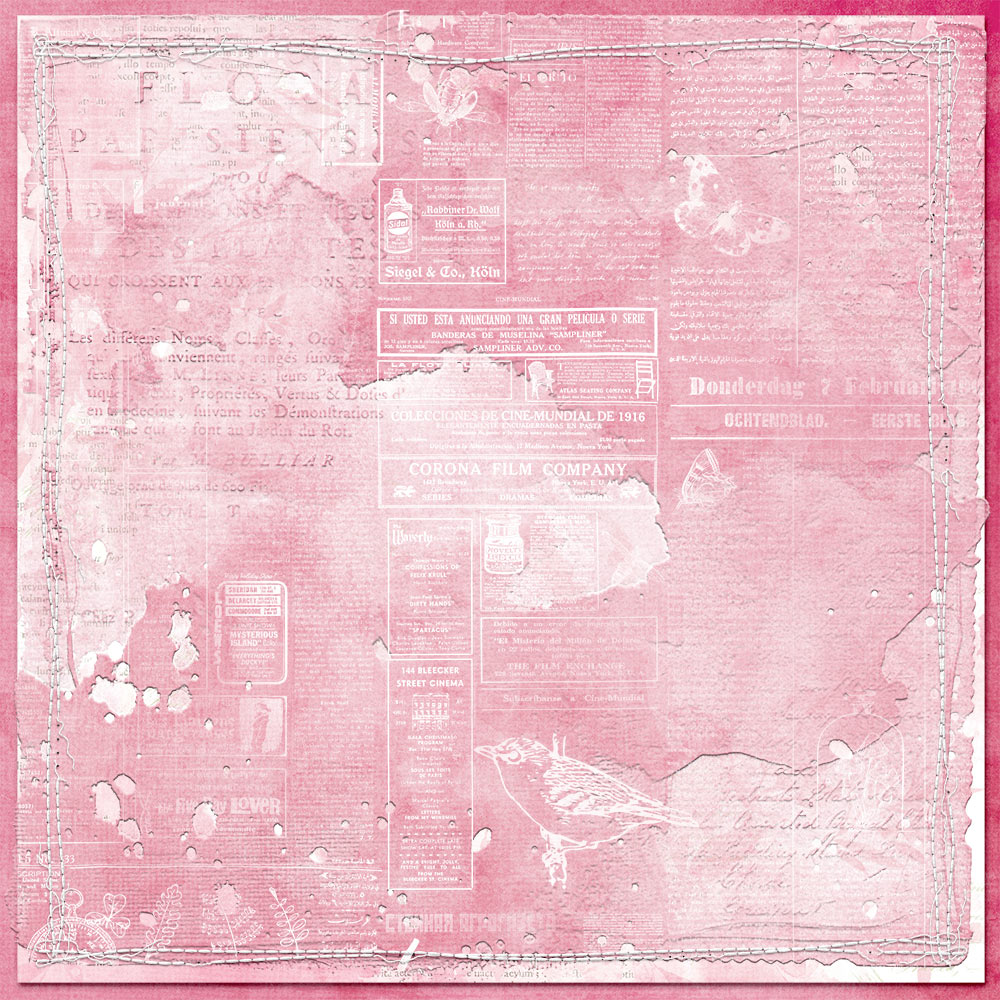
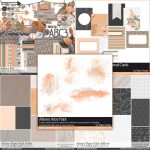
Hello everyone, Kathy (blackkathy) here to inspire you to use your digital supplies to create the look of mixed media and add more interest to your backgrounds. Where pixels meet paint — the magic of blending digital art with handmade flair. It is really fun and simple to do. Katie has provided a freebie that will help to get you on the road to creativity. Thank you, Katie! I will show you with the next two layouts how I created that mixed media look. This is my base layer using the papers that I chose and the three freebies that are provided. I clipped a paper to the page blend and then duplicated it, slapped an overlay blending mode on it and then combined the two. I wanted my page blend a little darker. To give it a little bit of texture, I added a bevel and emboss. I then added the Field Guide Classified over it, filled it with white, stuck a mask on it and then using a soft brush, masked out where I did not want it to show.
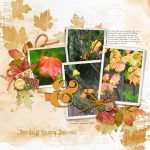
I then went into the kit to snatch up some transfers that I thought would recreate the look of gesso after filling them with white and again, adding a bit of bevel and emboss. I also grabbed a watery photo mask that I thought would look good as they have a softer look to them. I just filled it with white.
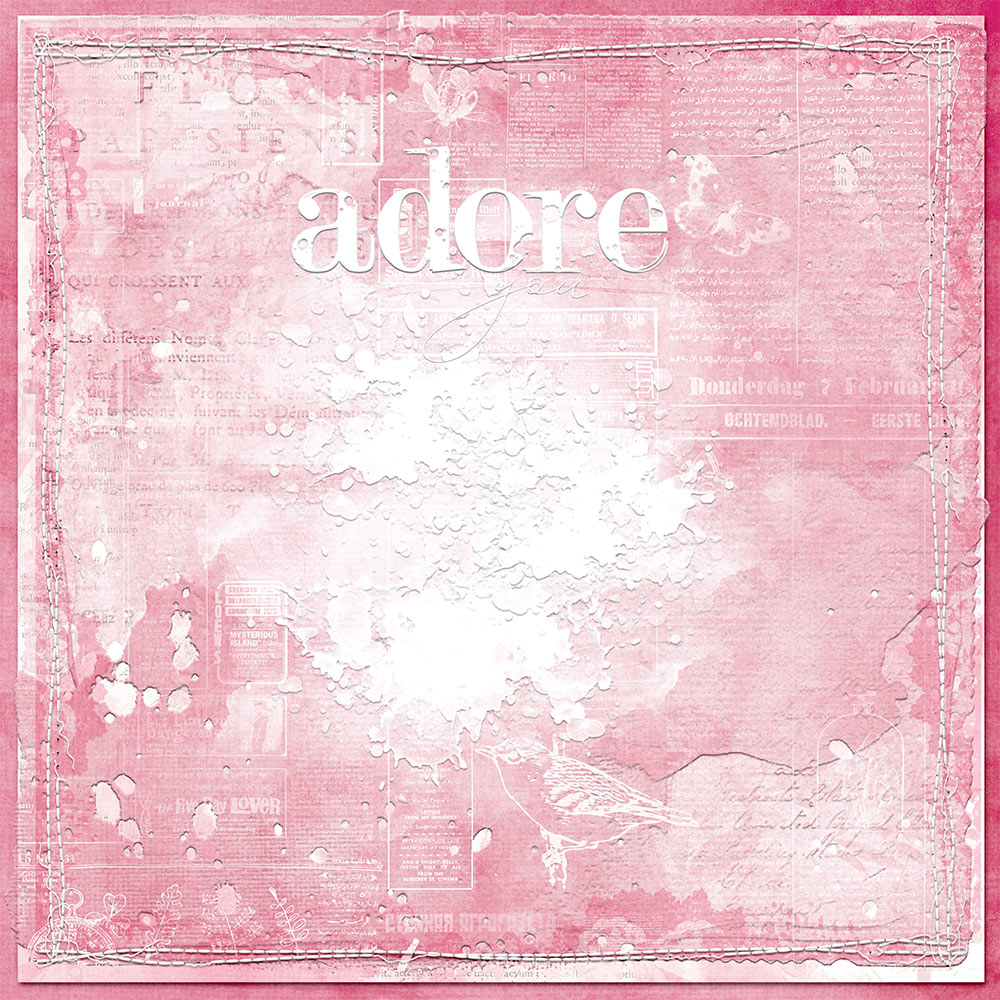
The next step was to add all those yummy elements that make your layout pop.
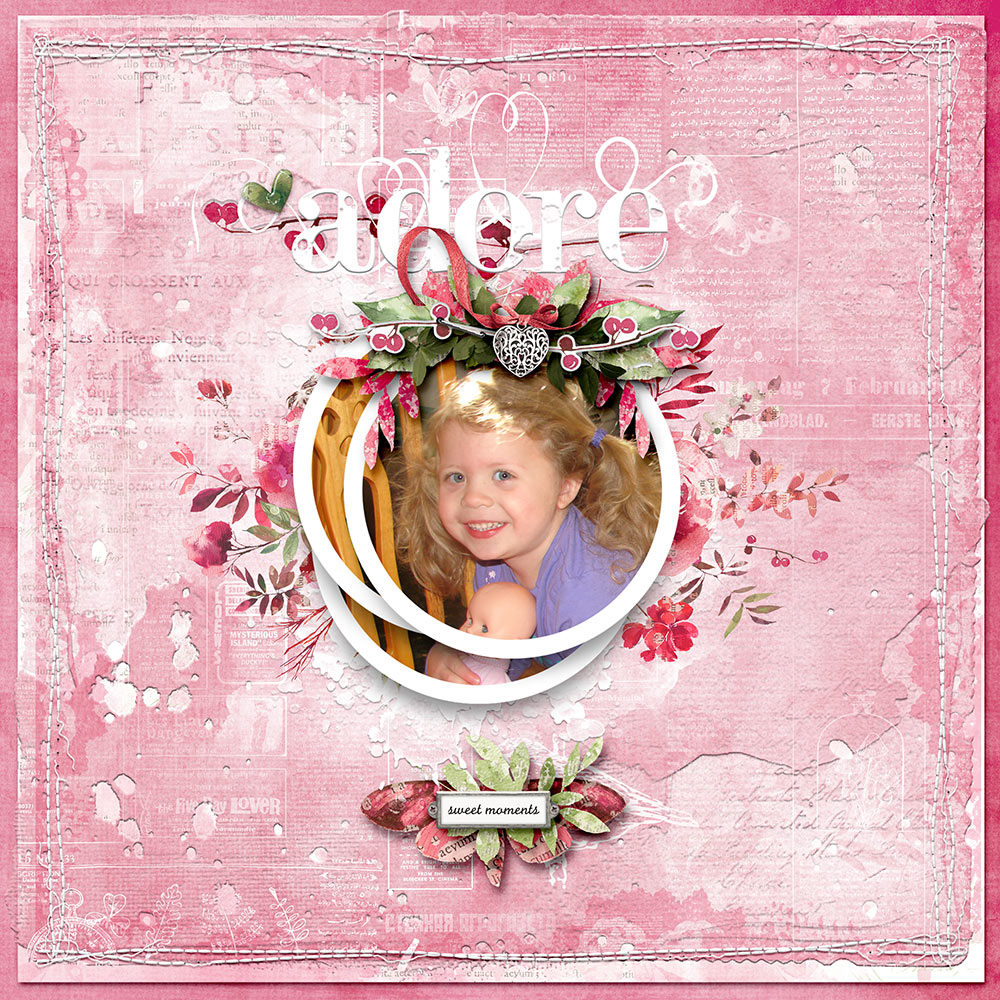
Supplies used: ARToptions Rouge Transfers 1, ARToptions Rouge Transfers 5, ARToptions Rouge Transfers 6, ARToptions Rouge Solids, ARToptions Rouge Papers 2, ARToptions Rouge Ephemera, ARToptions Rouge Ephemera Plus, ARToptions Rouge Chipboard Bits, Love Twists 2, Circle Frame Layers 1, Watery Photo Masks 31
Even though I have a lot going on, the look is still cohesive, and my granddaughter Jocelyn still shines. I kept my background softer yet with interest by using just the white on my overlays.
For this one, I used papers from my kit and the freebie and again, I clipped a paper to the page blend. I did change the color of the stitching.
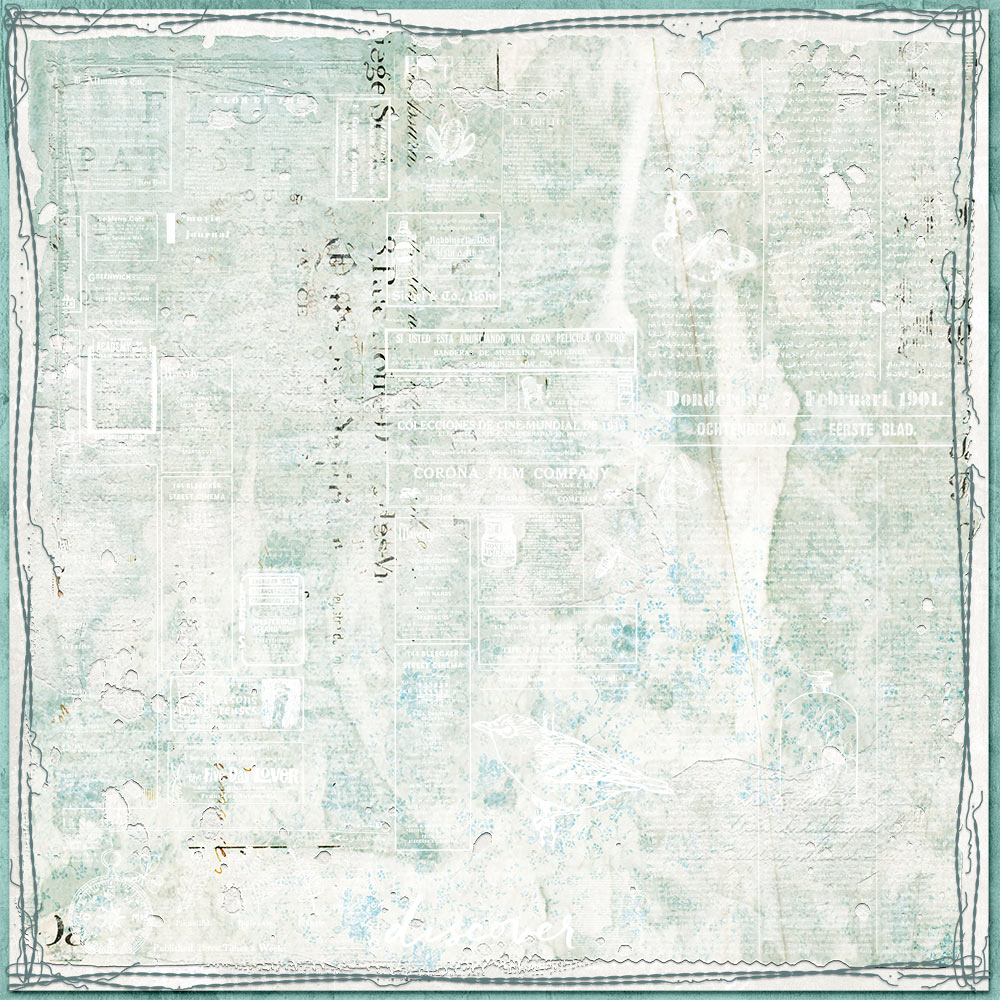
I next used the transfers that came with the kit to create the look of stamping underneath the gesso. The gesso is just a transfer that I filled with white and added a bevel and emboss.
![]()
Then I piled on all the goodies that I wanted just to make my newest grandbaby shine.
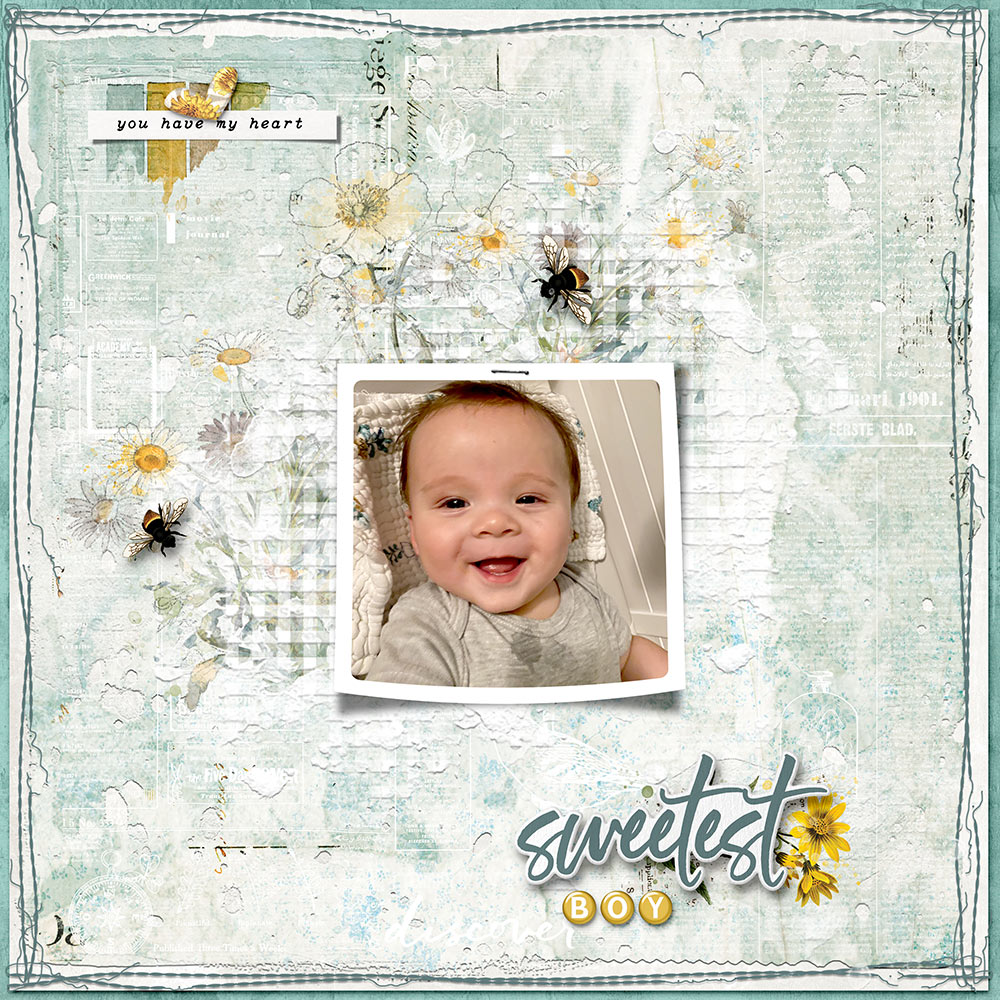
Supplies Used: Krafty Garden Chipboard Words, Krafty Garden Ephemera Plus, Krafty Garden Botanical Transfers 1, Krafty Garden Botanical Transfers 2, Krafty Garden Blends Transfers 2, Krafty Garden Wildflower Ephemera, Krafty Garden Paper 1, Krafty Garden Solids, Spectrum Sherbet Flair Alphas, Classic Curled Frames 3
I hope you will join us in creating some interesting backgrounds by mixing your digital supplies and using them in different ways. Katie has so many stamps that will create those paint spatters, drips, masks that you may create your own “gesso” with, overlays that will create that texture and overall grungy-ness that will bring added interest to your layouts. I love trying out new things as it really keeps my mojo up! Please upload your creations to the Challenge of the Month Gallery and also, place it in the October Challenge Participation Forum so you may receive your credit. If you have any questions, feel free to send me a message through Katie Pertiet. You will find me as blackkathy. Remember, enjoy the process and just have fun with it!
Follow Us